Geofences
Geofences are bounded areas, lines, markers, or routes on a geographic map.
on a geographic map. Geofences can be used to monitor
the movement of objects over a defined area, the entry into and exit from a defined geographical area, and deviations from a route.
Geofences can be used to monitor the movement of objects over a selected area, in and out of a certain geographical area, route deviations, etc.
Possible types of geofences:

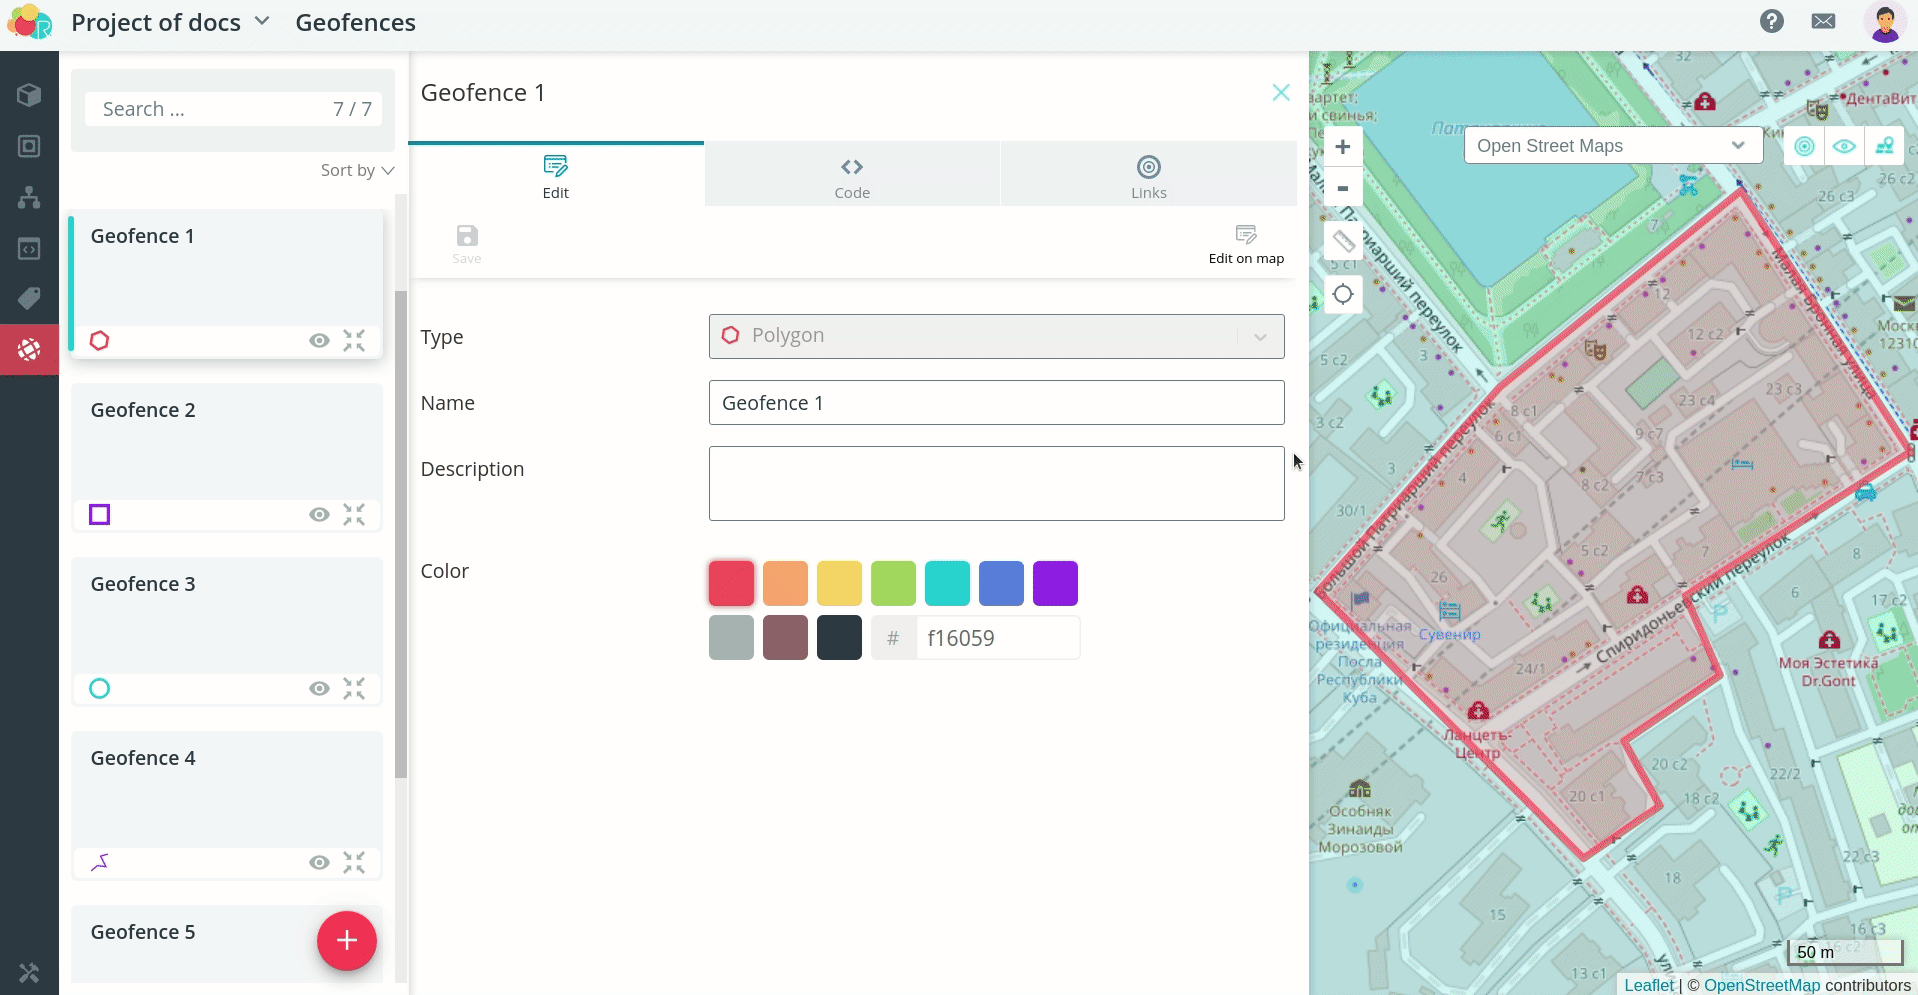
Geofence map
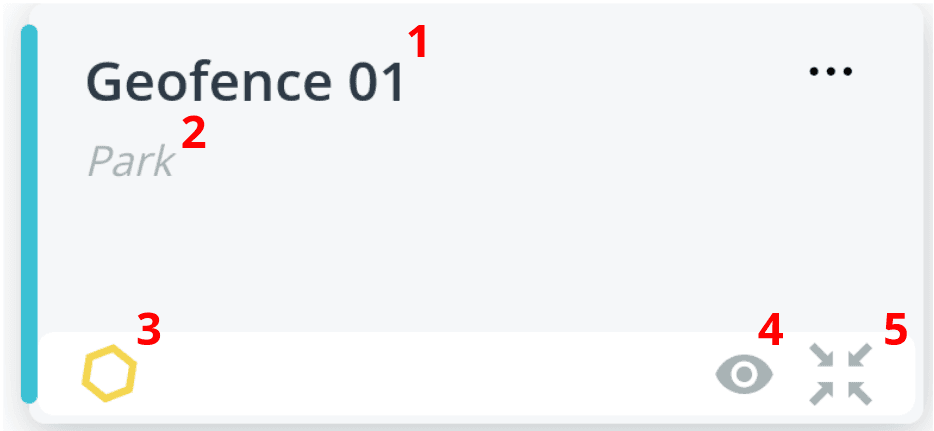
- geofence name
- geofence description
- an icon colored in the geofence color and corresponding to the geofence type
- Show/Hide: A hidden geofence will not be displayed on the map
- Center: When clicked, the geofence will be displayed in the center of the map
💡
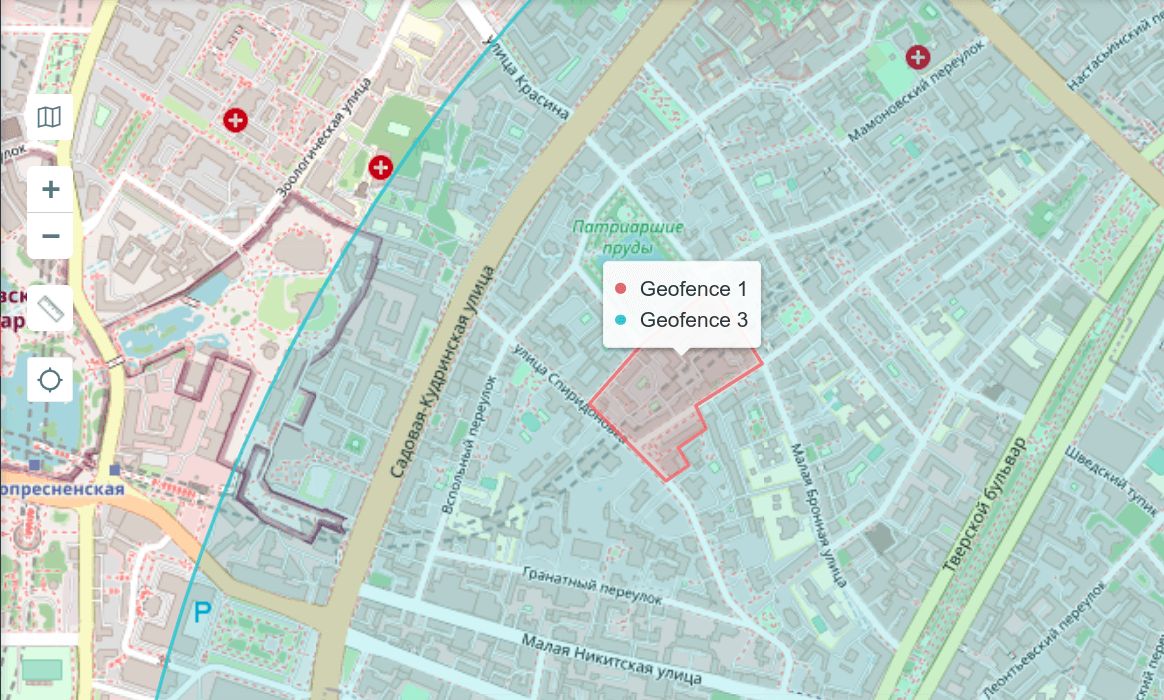
Hover over the geofence on the map to see its name. If more than one geofence
intersects at a given point multiple geofences intersect at a given point, a
list of their names is shown. For convenience a color indicator of the
corresponding geofence is displayed next to the name.
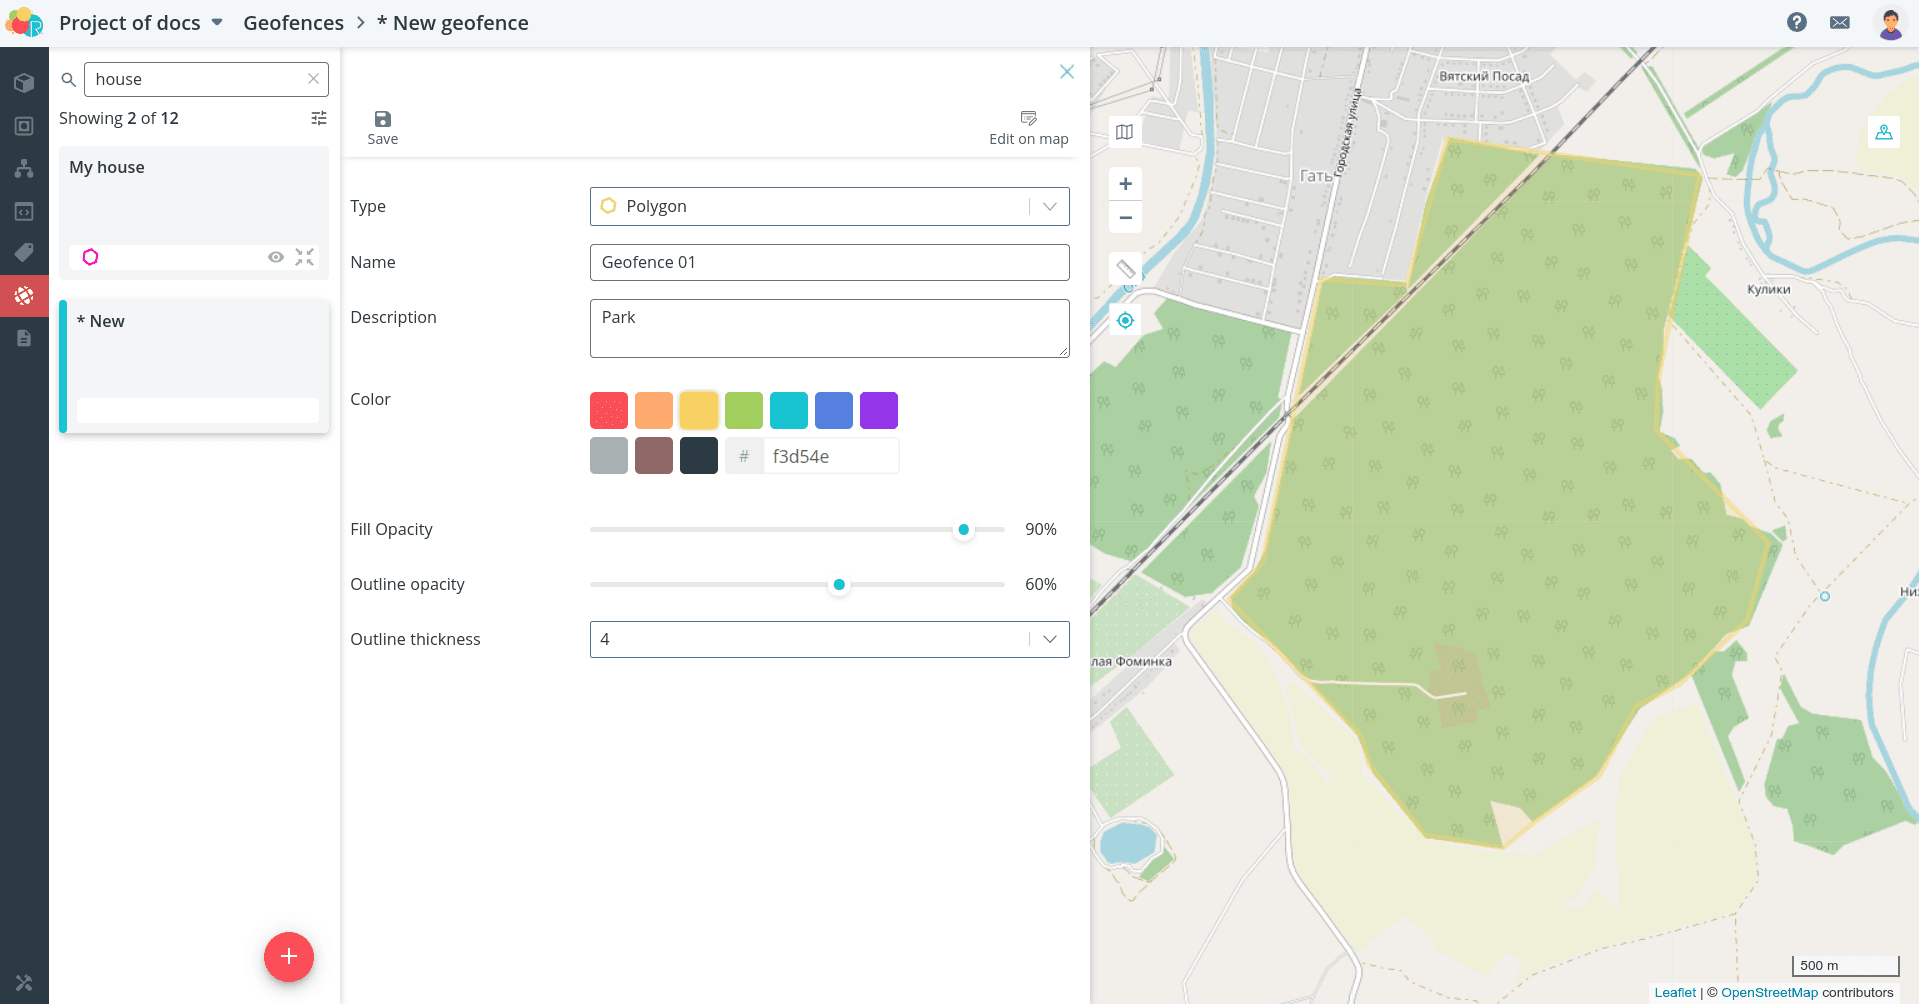
Creating a geofence
To create a new geofence, click on the Geofences tab. Add a geofence,
by clicking the plus sign.
Fill in the following fields:
-
type - geofence type, which defines its shape on the map, is set when creating the geofence and cannot be edited later;
-
name - the name of the geofence;
-
description - detailed description of the geofence, to be filled in if necessary;
-
color - geofence color. You can choose one of the presented colors or specify any color of your own using the hexadecimal color code;
-
fill opacity - the percentage that determines how much of the geofence will be shine through the map layer below. Making the geofence completely opaque
-
contour opacity - a percentage that determines how much of the geofence outline will show through the map layer below;
-
line thickness - the thickness of the geofence outline.
💡
If necessary, you can make geofences completely invisible (fill opacity 0% and
outline opacity 0%). This can be useful to avoid display large geofences that
interfere with the visualization of other geofences and objects on the map.
geofences and objects on the map. On automata that track entry and exit events
for invisible geofences will not be affected.
Once this is done, move the cursor to the right area of the screen where the
map. Image the geofence according to the selected type.
💡
When creating a geofence, use the mouse wheel: scroll - to zoom, click - to
move the geofence. scroll to zoom, click to move around the map. |
Click Save. Your new geofence will open in front of you.
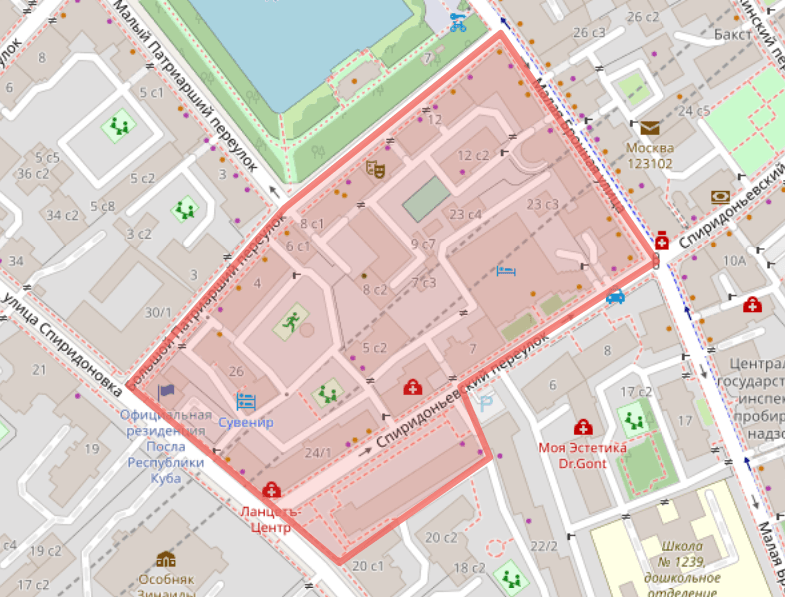
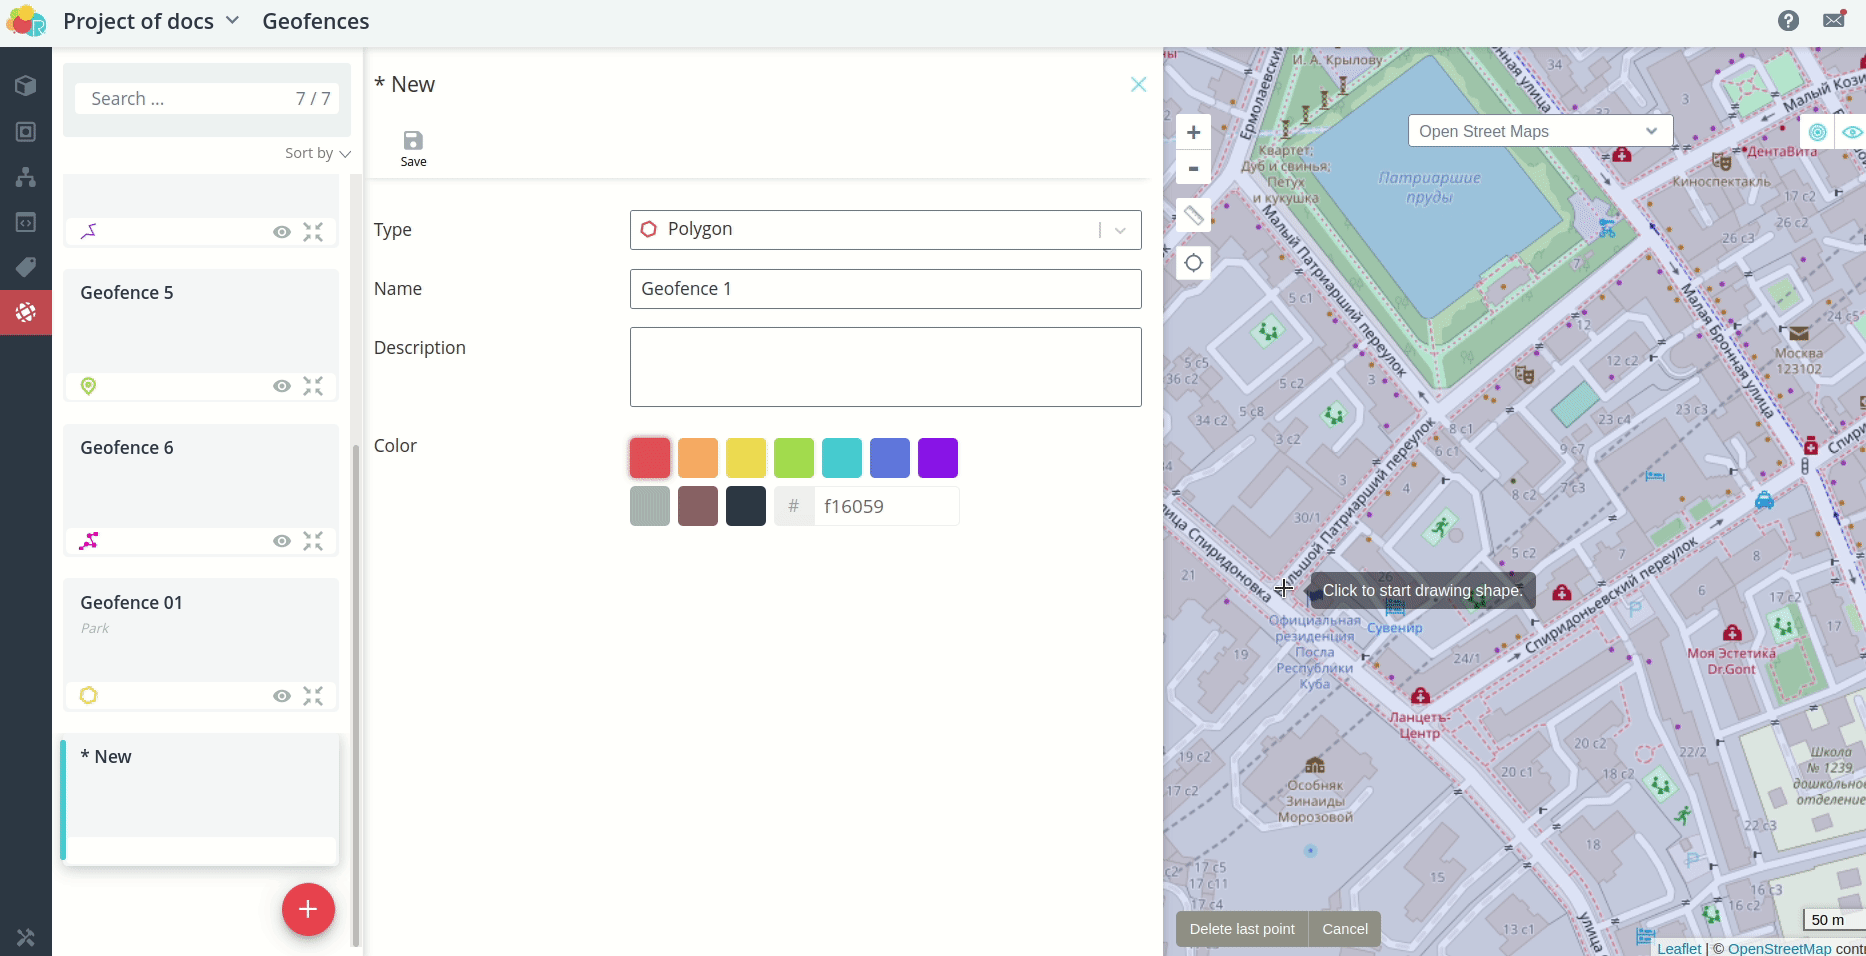
Polygon
A polygon is a geofence, which is a polyhedron whose location
is determined by the coordinates of its vertices. To represent it,
sequentially click on all the required vertices on the map. To complete
to complete the drawing by connecting the first and last points.
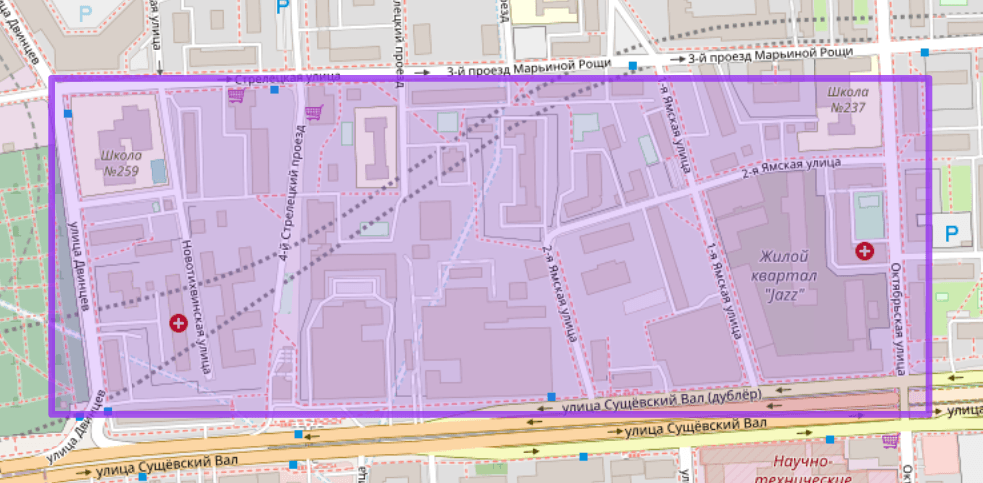
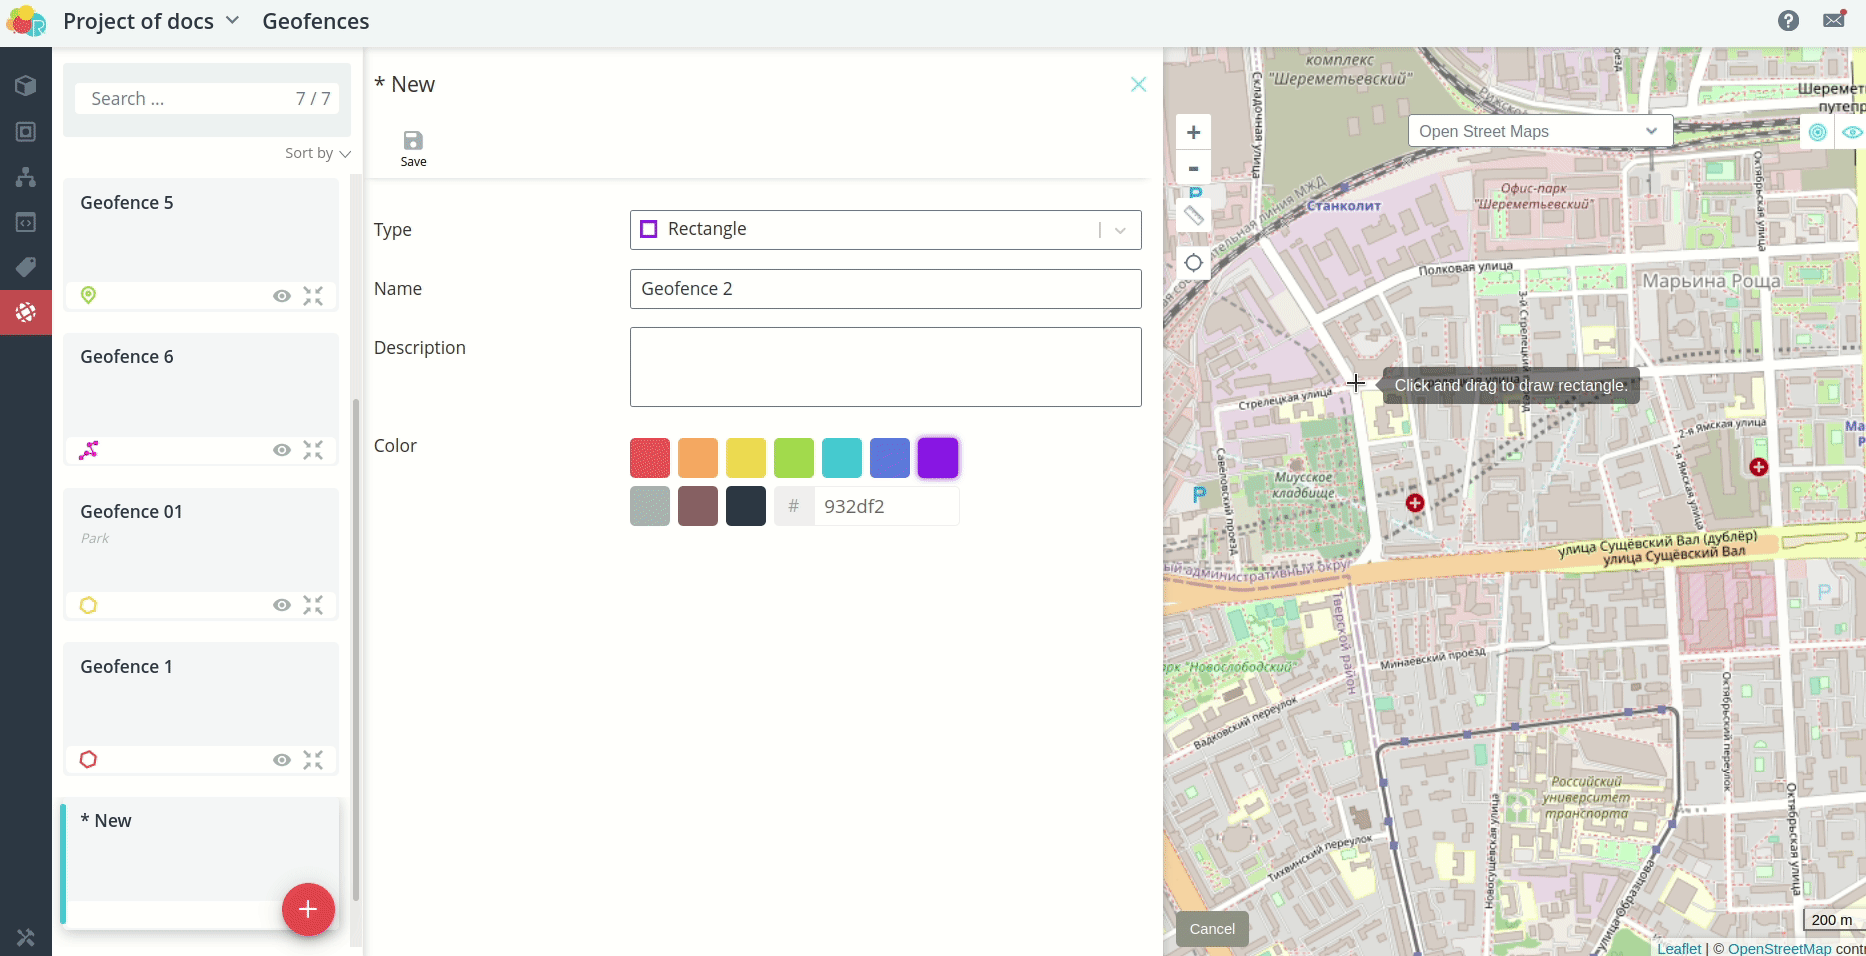
Rectangle
A rectangle is a geofence in the form of a rectangular area depicted strictly
without slope. To draw a geofence of this type, **click and
click and left-click on the map at the location where you want the first
vertex, and swipe to the location of the second vertex, which is diagonal to the first vertex.
to the first vertex. To finish drawing **release the mouse button**.
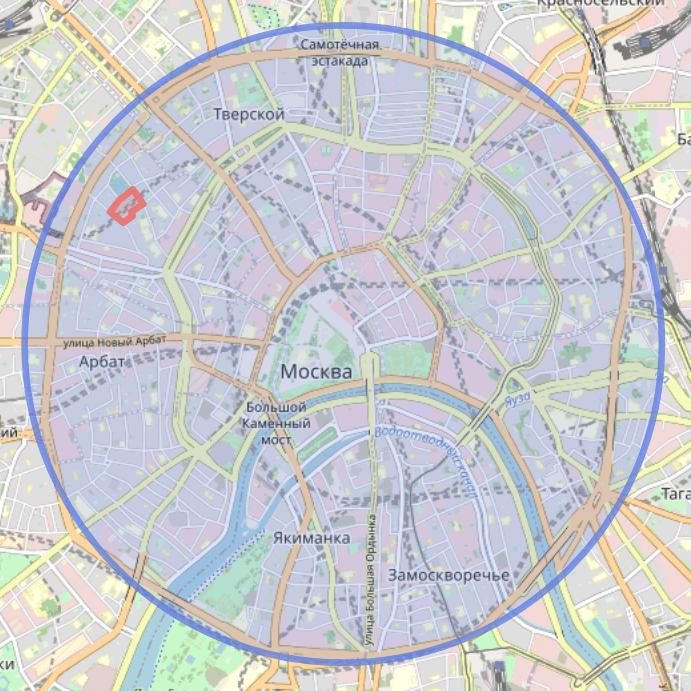
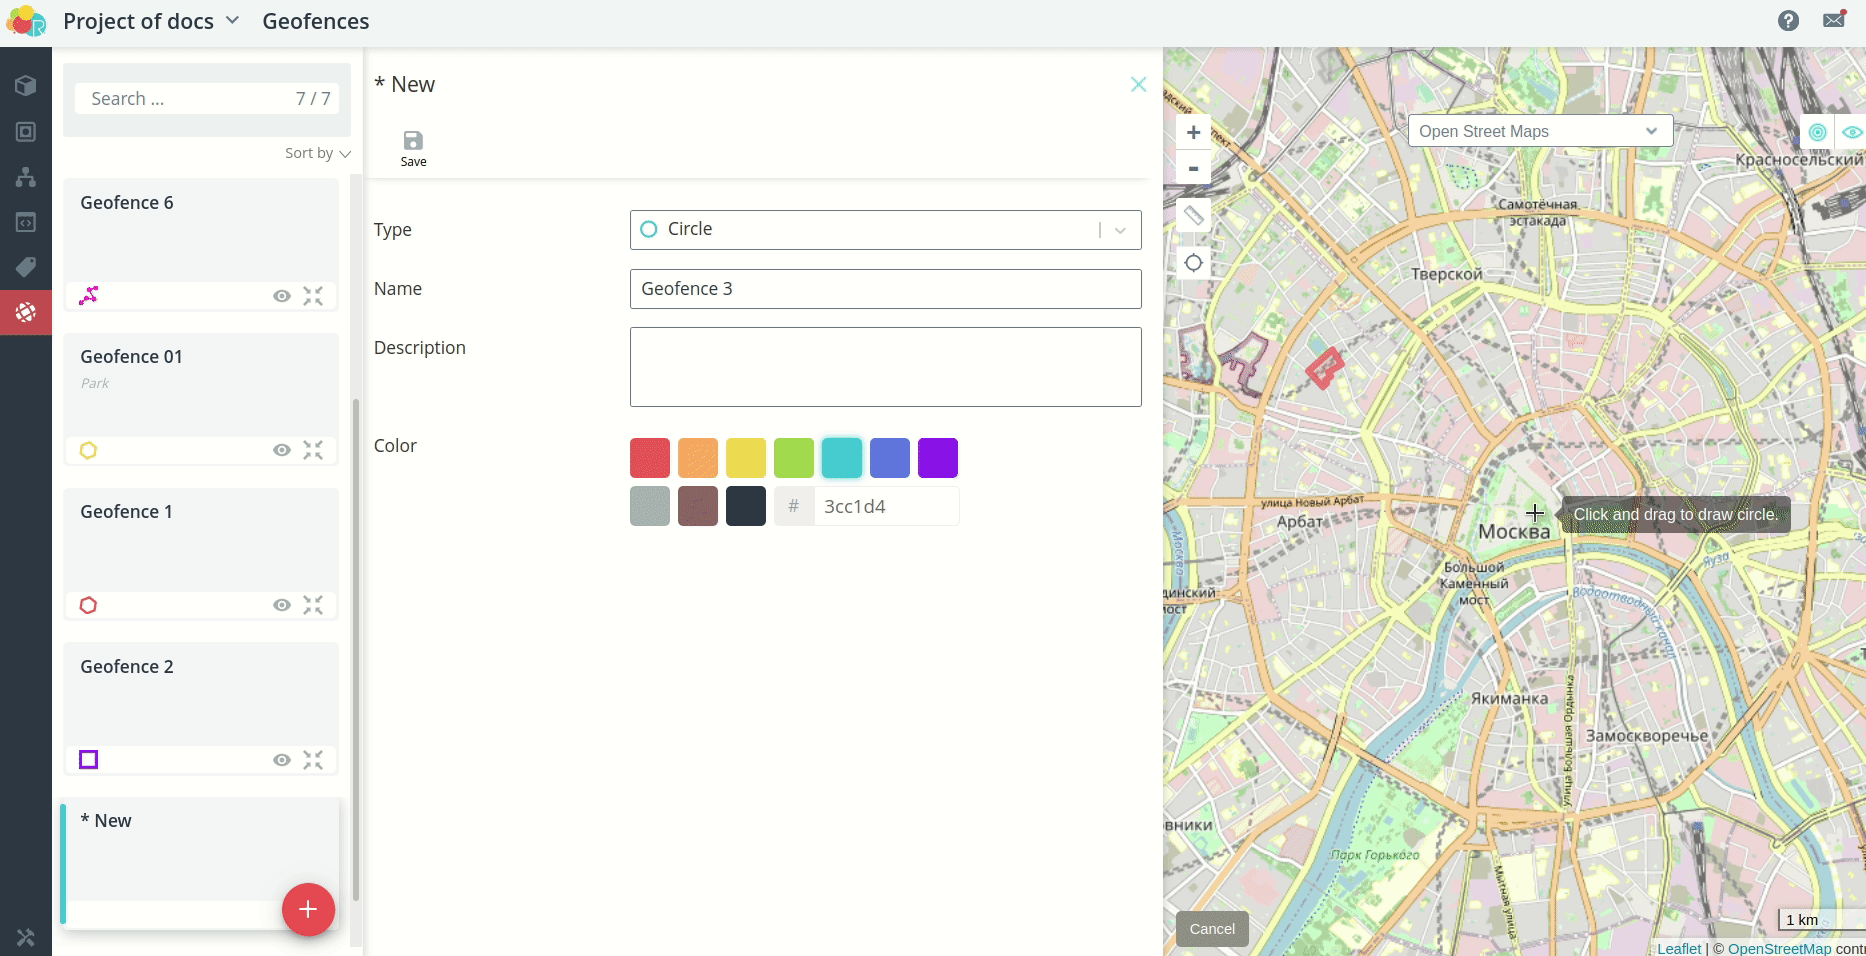
Circle
A circle is a geofence in the form of a circular area, the location of which is defined by the
by the center and a point that defines the radius. To draw it, click and
click and hold the left mouse button on the map where you want the center of the circle to be, and drag away from the center of the circle.
of the circle, and distance the center from the center, which is the distance that corresponds to
the desired radius of the circle. To finish drawing, release the mouse button.
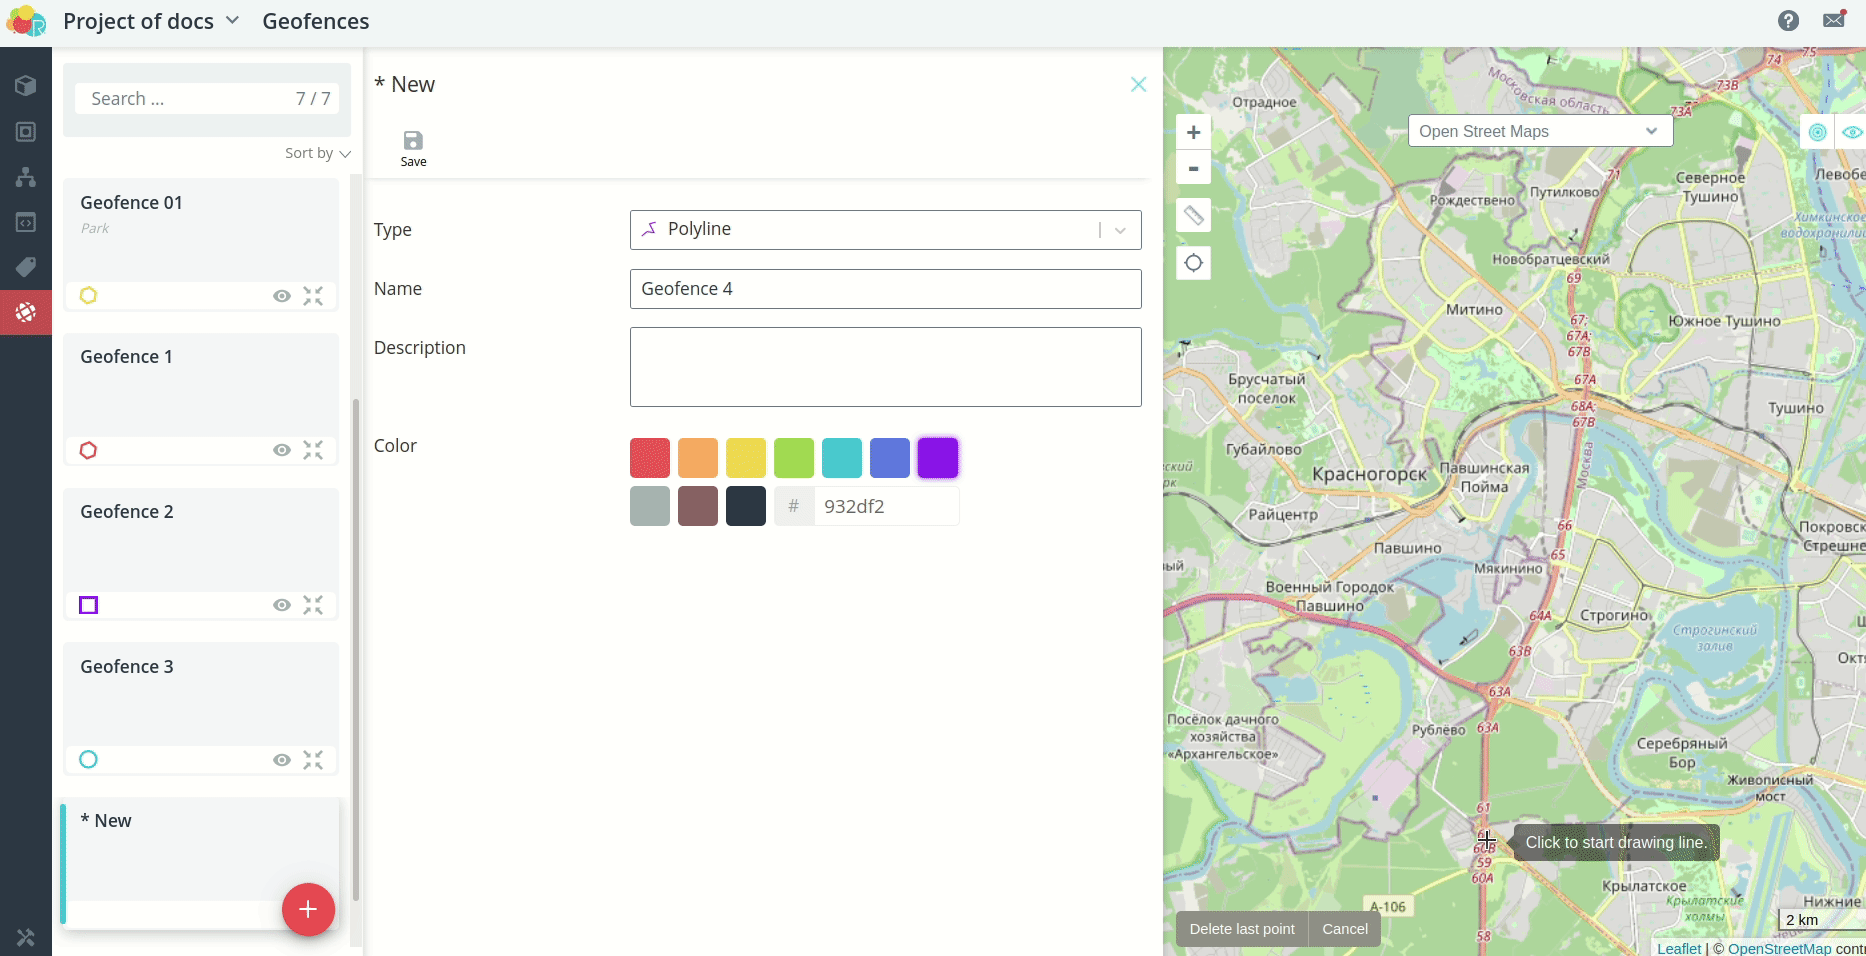
Broken line
A broken line is a geofence that is a set of rectilinear segments,
whose location is determined by a set of consecutively marked points. In order
to draw a broken line, circle all the required breakpoints on the map.
of fractures** on the map. To complete the drawing, **click at the termination point
twice**.
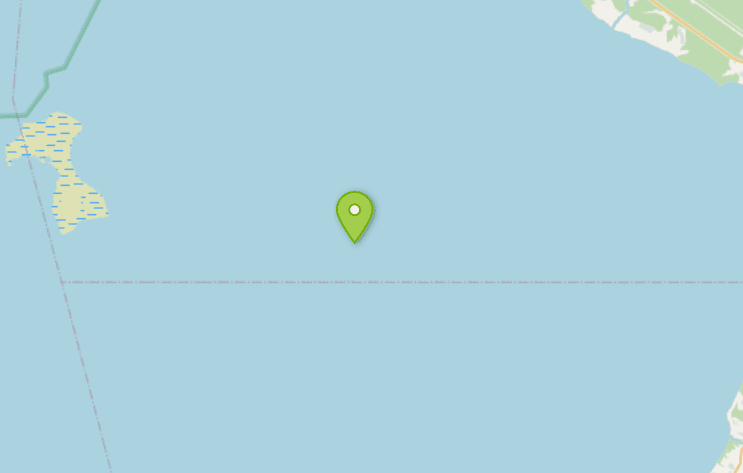
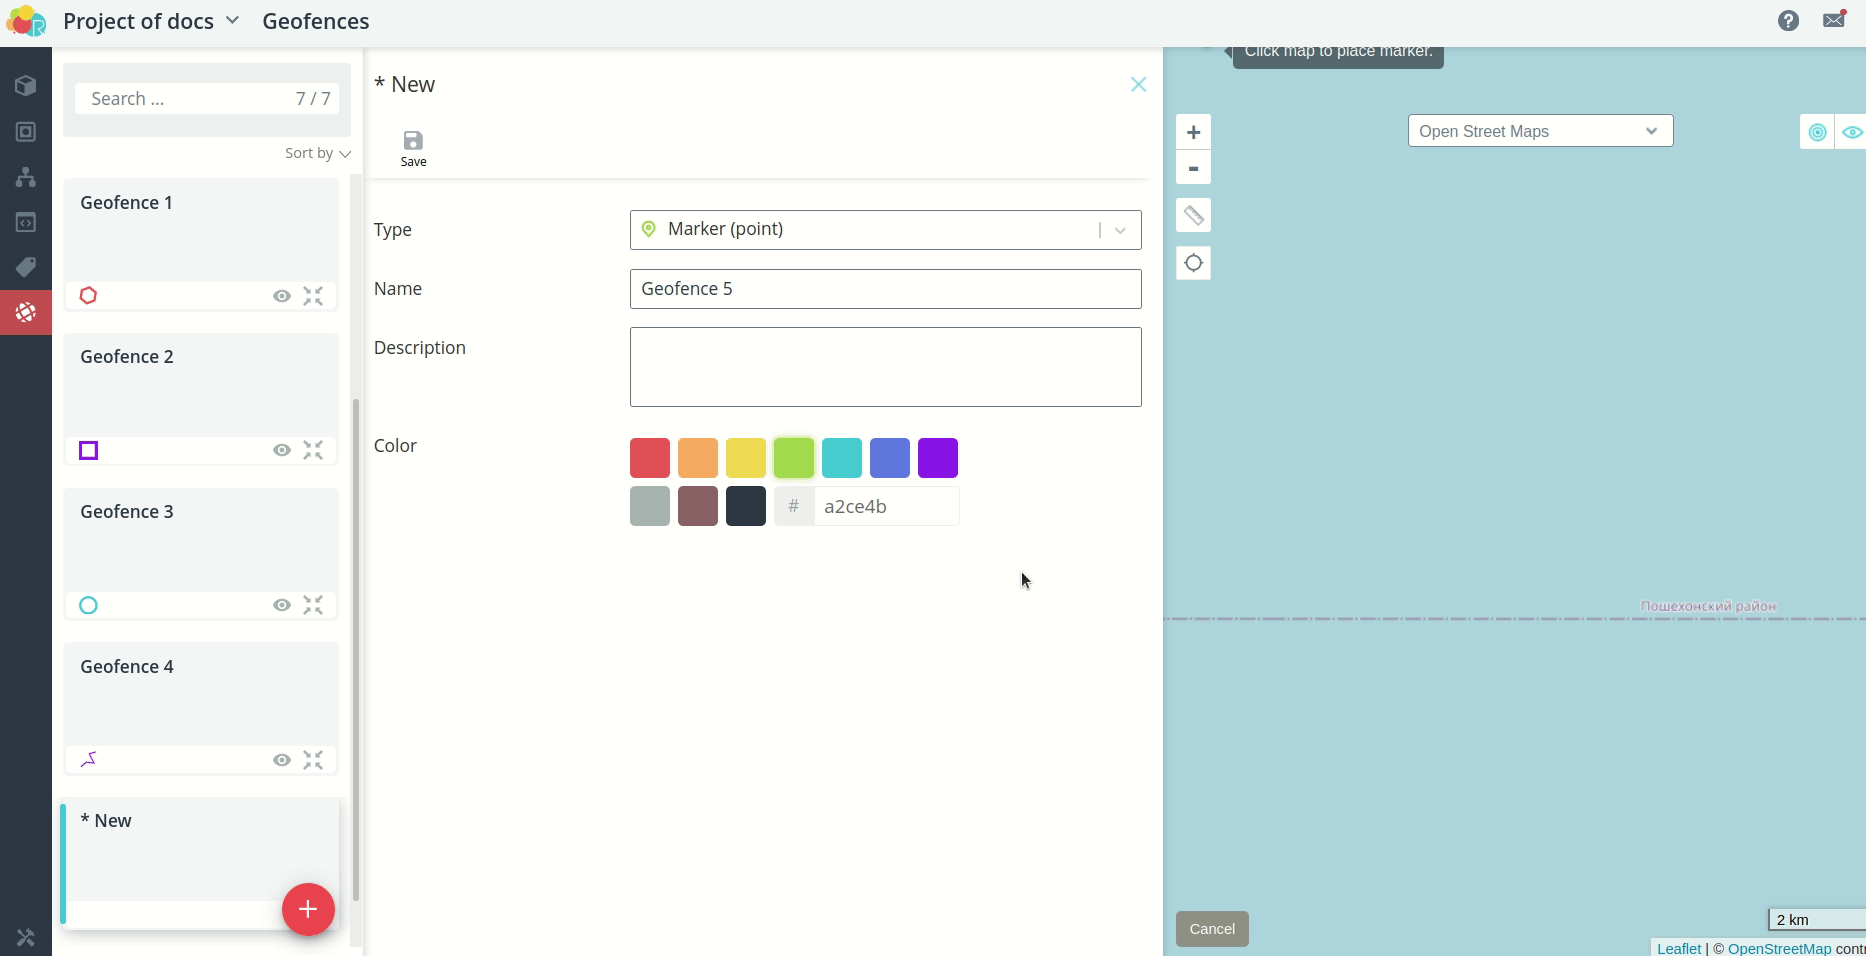
Marker
A marker is a geofence consisting of just one point. To create a marker simply
click on the map at the desired location.
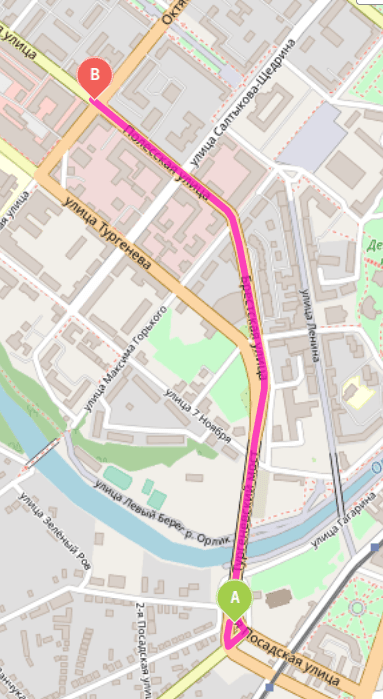
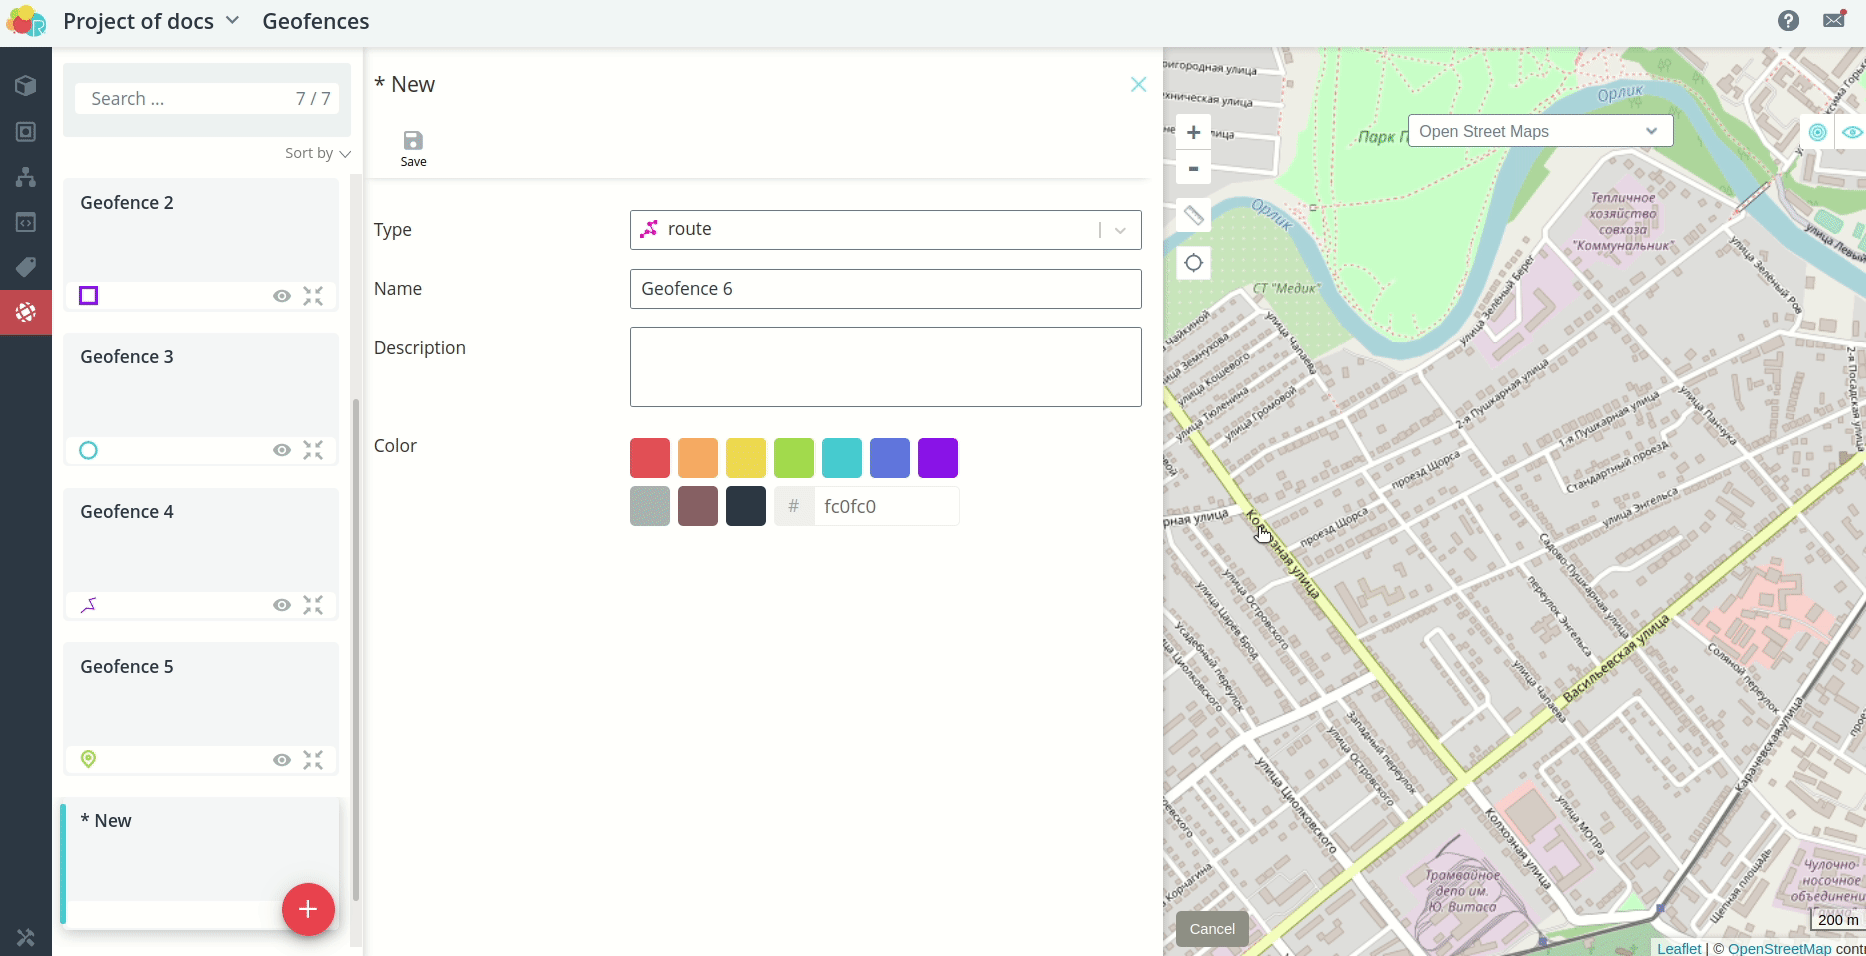
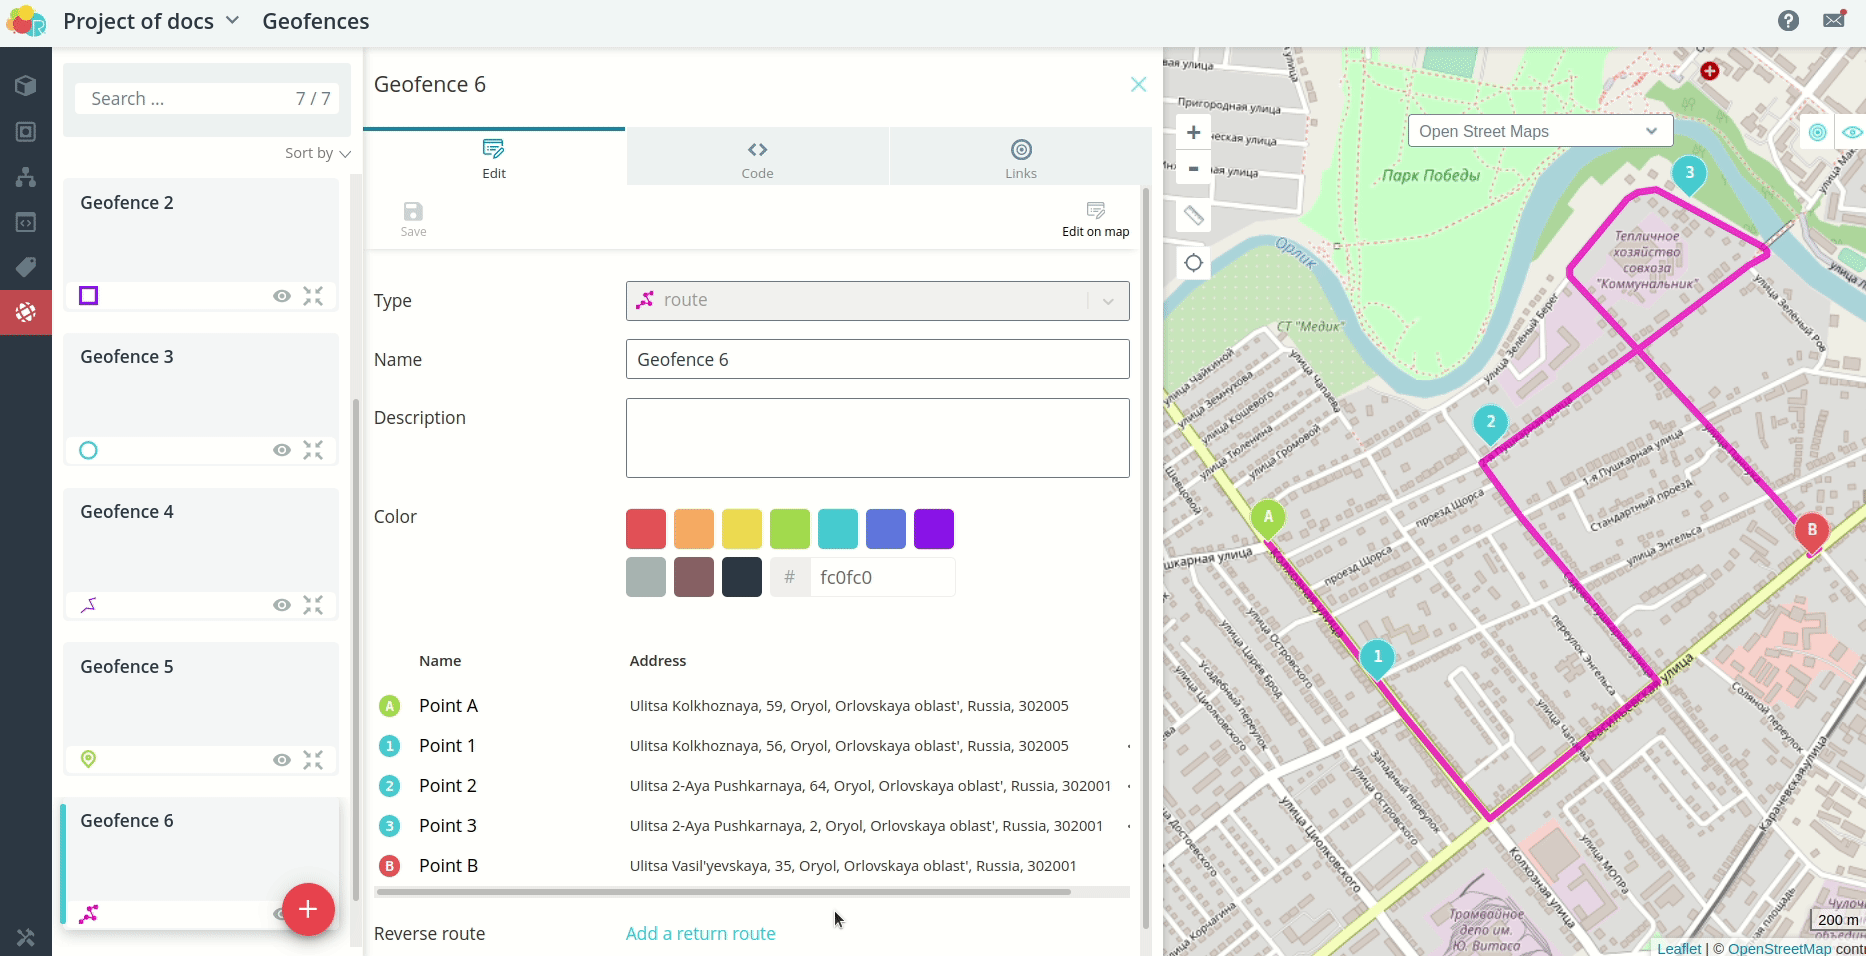
Route
A route is a geofence that has a selected start, intermediate, and end points.
points. These points are automatically connected to each other by a road graph. In order
to draw a route, click at the start point of the route and then click at the end point of the route.
the end point of the route**. If necessary, **specify intermediate points**,
where you want the route to pass through. They can be located either on the
on or off the constructed route.
After saving the route you can click on the Add Back Route button.
route**. Then the route from point B to point A will be automatically drawn, which lies
through all the specified intermediate points. Click the **Save** button.
💡
The reverse route can be edited independently of the forward route and vice
versa. Strictly Strictly speaking, these routes can be different and
independent of each other.
Editing Geofence
While a geofence is being created, it cannot be edited until the Save button is pressed.
cannot be edited. However, once created, any geofence can be edited.
Editing on the map
Click the Modify on Map button and drag the anchor points to the new locations.
After making changes, click the Save button.
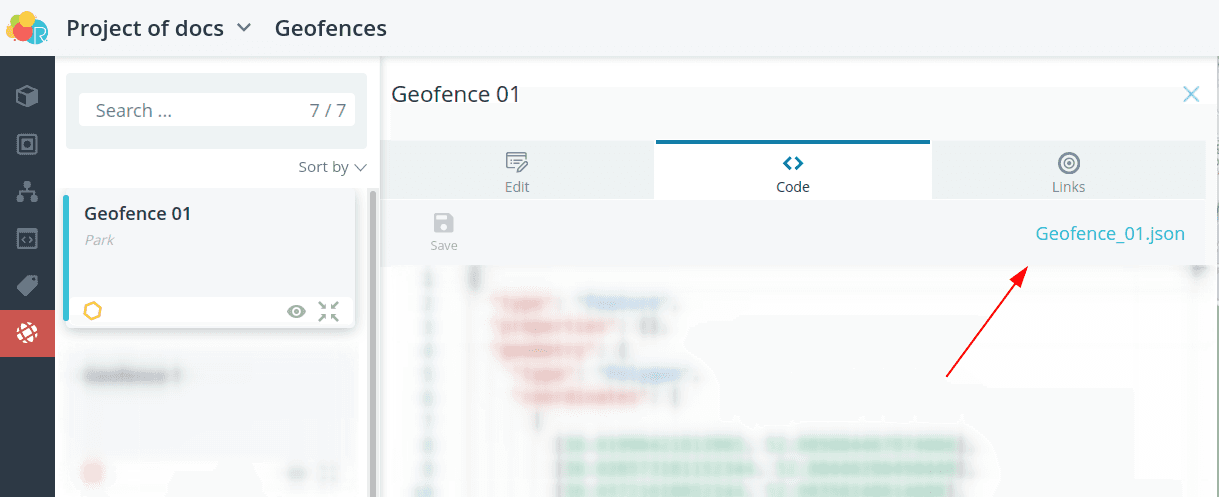
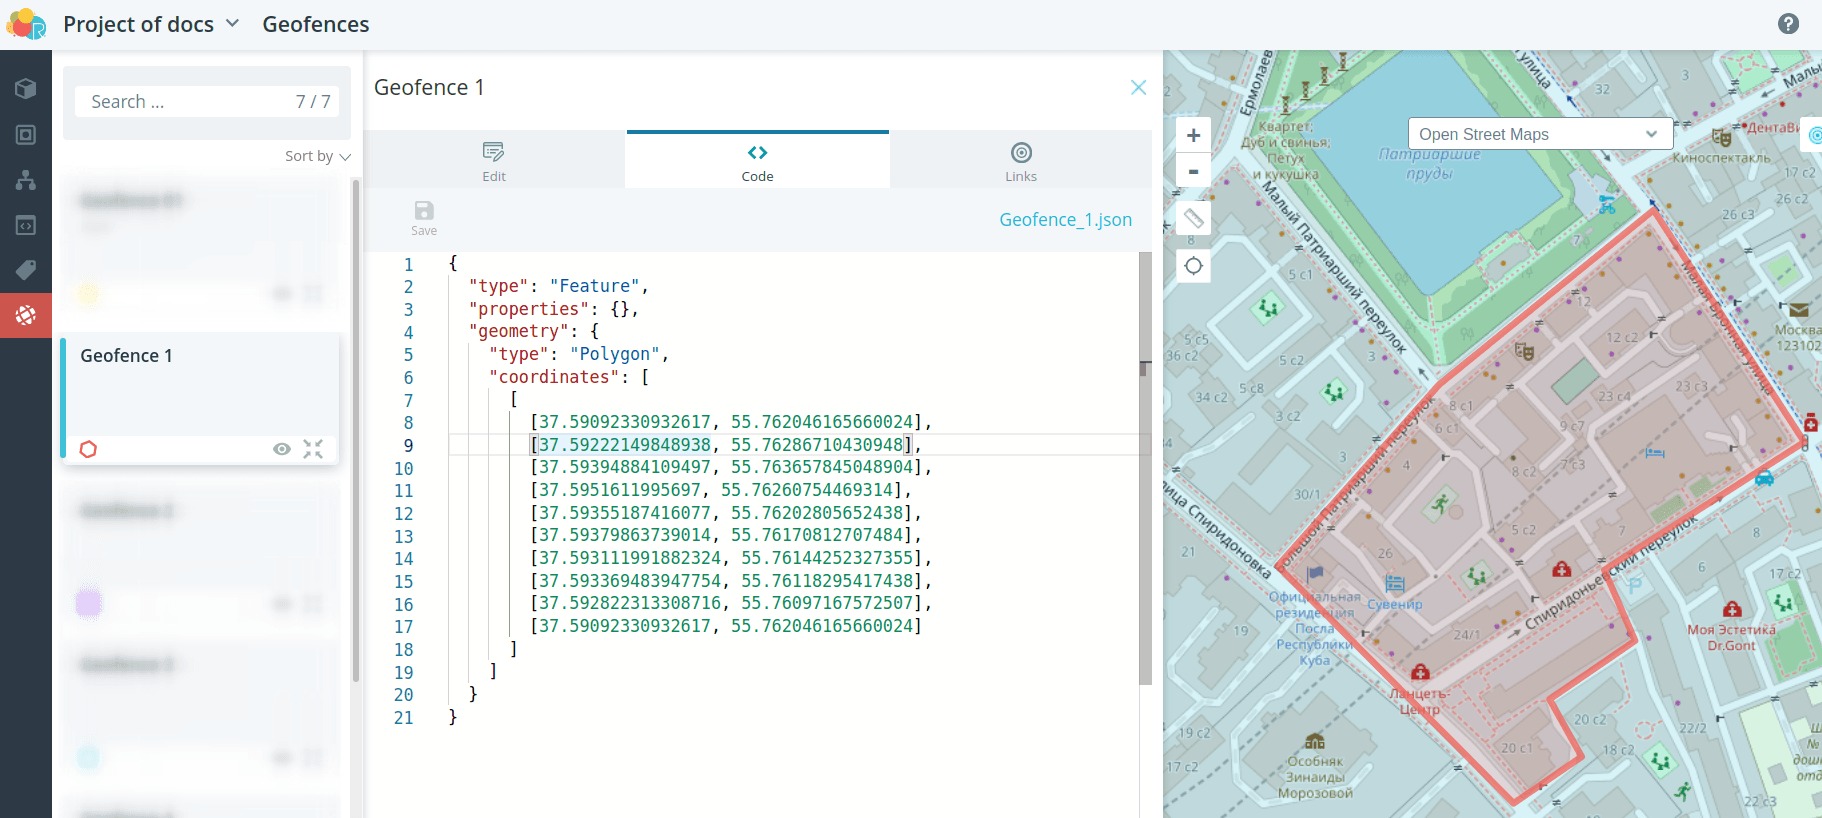
Editing code
Another option for editing a geofence is to change the code. This feature
is available for all geofences except Route. To edit
code of the geofence, go to the Code tab and correct the coordinates of reference points.
as required. After making changes, click the Save button.
💡
Be careful when editing polygons, the first and the last coordinate of the
array must remain the same. of the array must remain the same to keep the
shape closed.
Adding a geofence to objects
To select the objects you want to add a geofence to,
go to the Links tab.
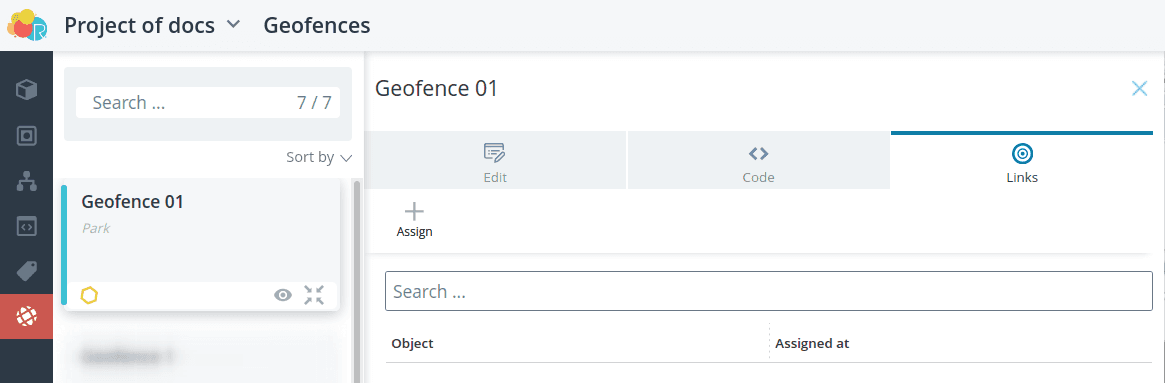
Click Assign and select the objects from the list.
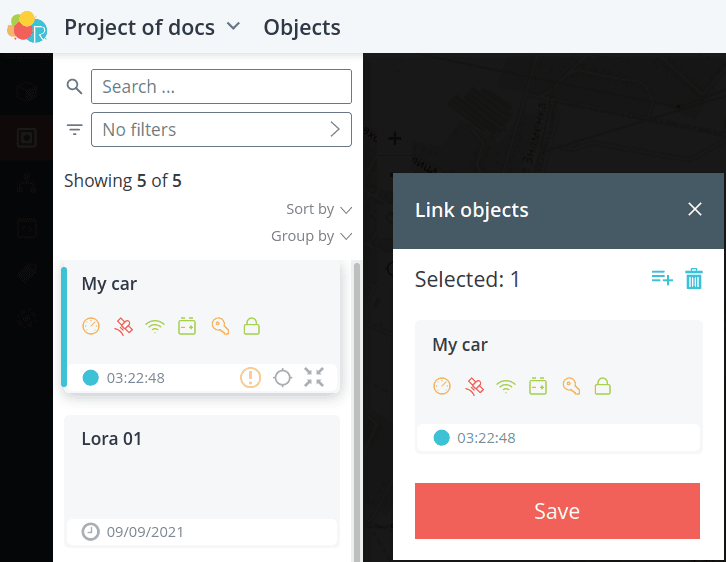
Click on the Save button, the geofence will be assigned to the selected objects.
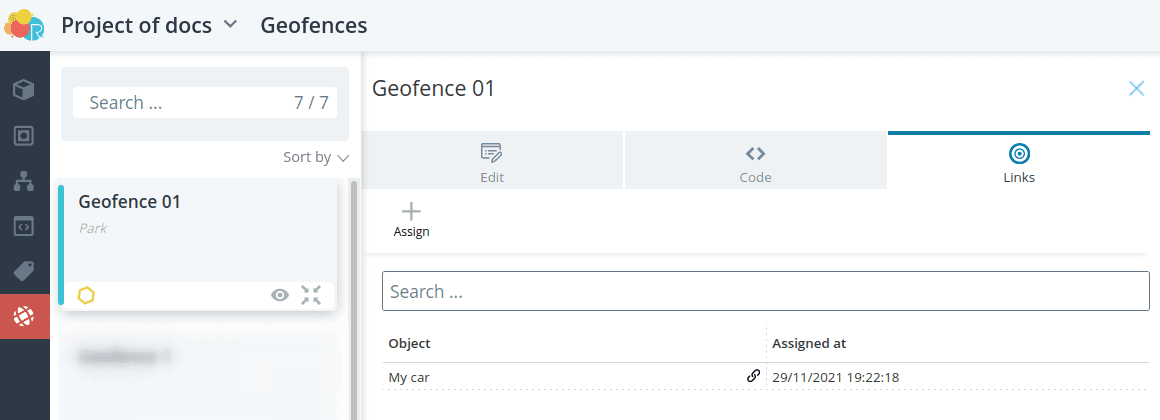
After a coordinate packet arrives from the device, the assigned geofence
will be displayed in the object interface with the current In/Out status.

For geofences with the types Polygon, Rectangle and Circle you can define
events to be generated on entry and exit. By default these are
the built-in events Entry into the geofence and Exit from the geofence. Additionally, you can
you can create any events in the object model and specify them as the
events for geofences.
💡
Use events for geofences when building transitions in automata. This will
allow you to configure a certain behavior of the system in case an object
enters or leaves a geofence. an object enters or leaves a geofence.
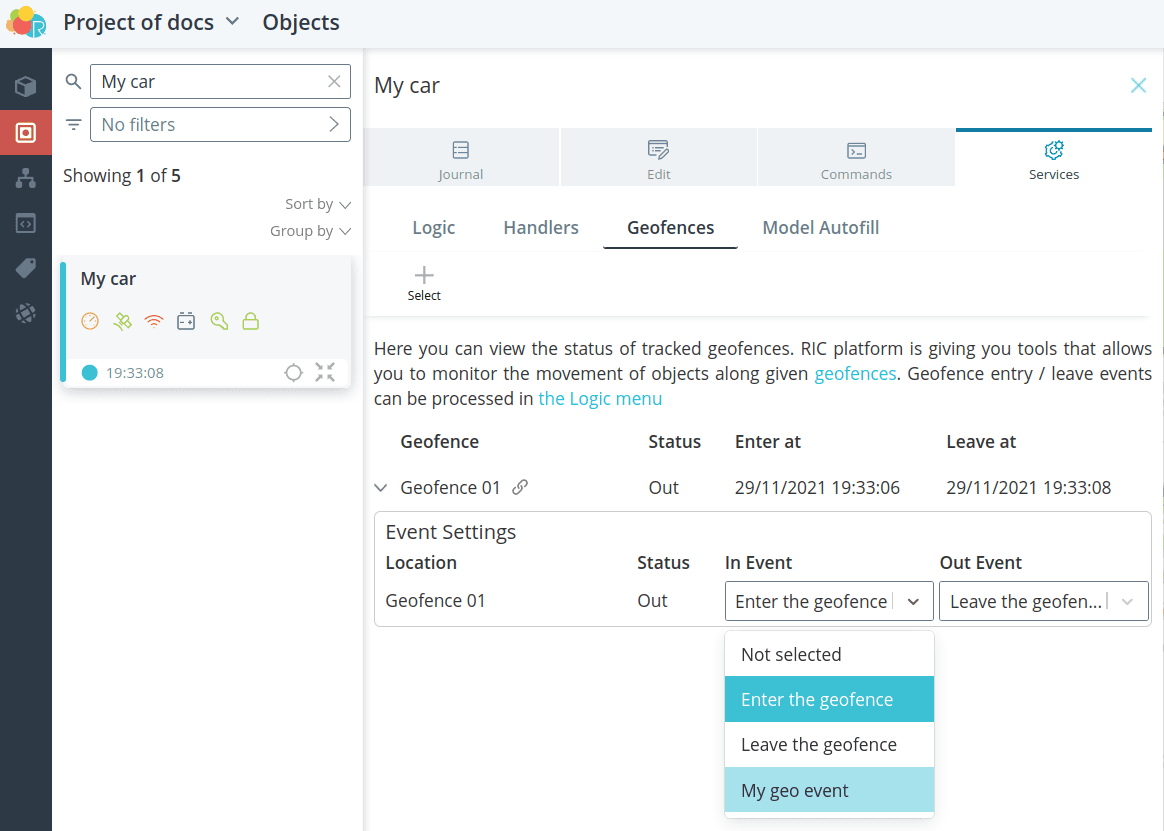
To view the event history, click the tab Events of the Journal section.
Import/Export
Import
There is no built-in import mechanism for geofences. However, once you have created
However, after creating a geofence you can insert the code of any other geofence and click Save. This way
you will get the geofence you wanted to import.
Export
To export a geofence, click the <geofence name>.json button on the
Code.