Project Administration
Click the Project Administration tab to manage your project team, roles, and issue API tokens.
project team, roles, and issue API tokens.
Team
In the Command section you can invite other participants to join the
project.
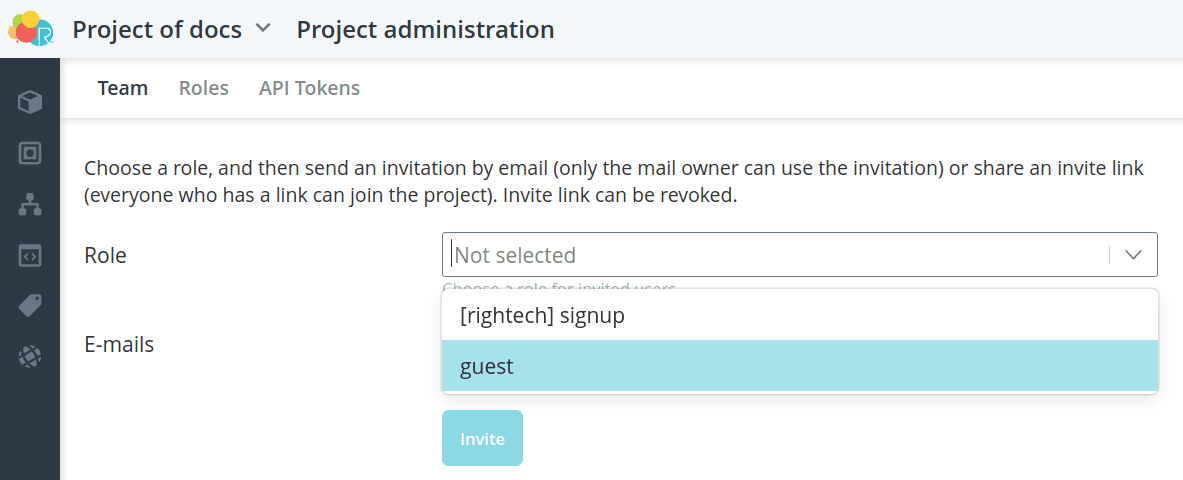
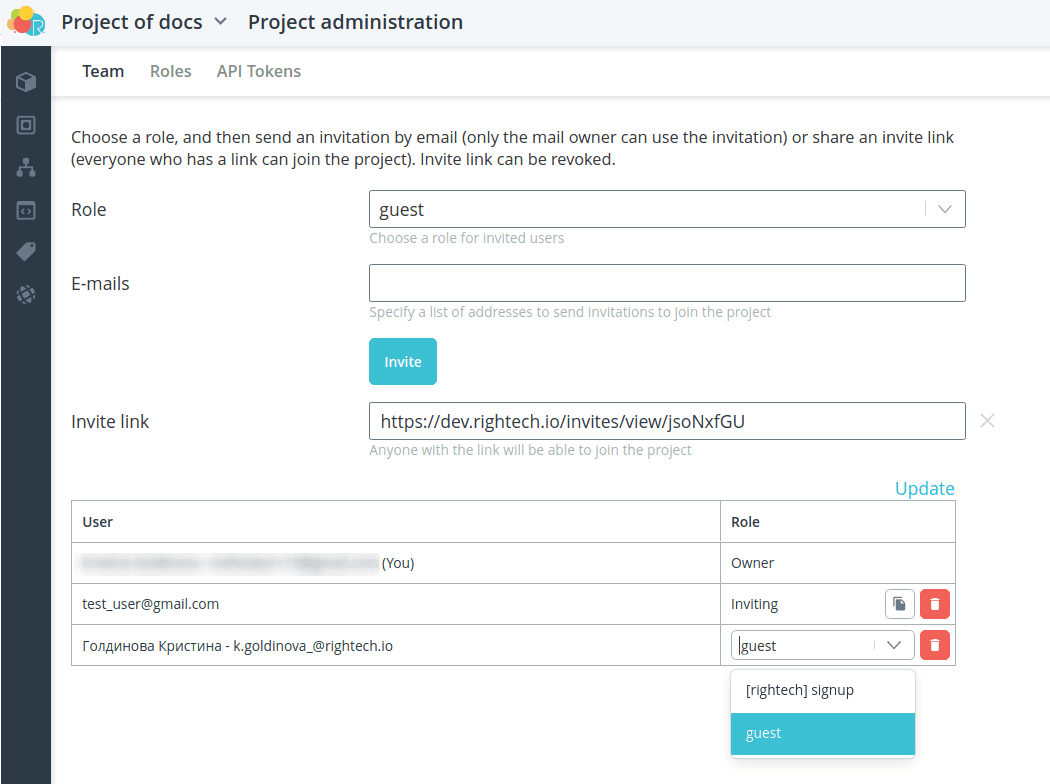
Define the role with which the user will participate in the project.
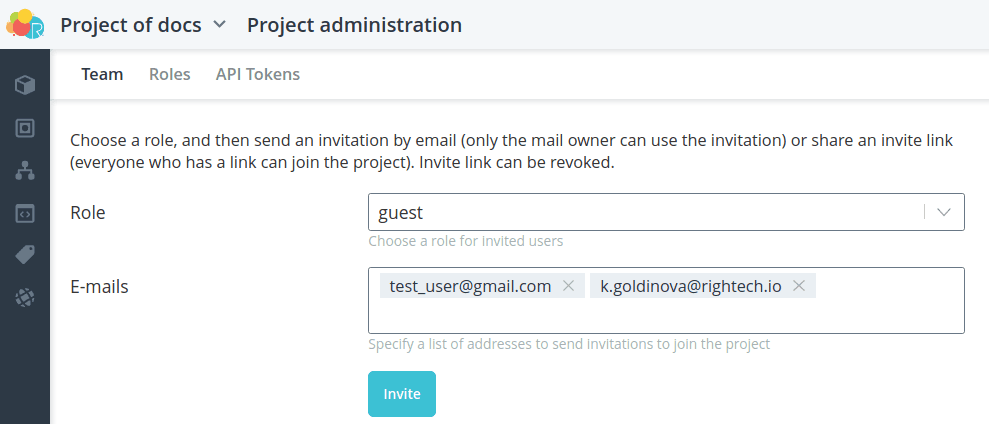
Select the method of invitation:
- Invite by e-mail: In this case an e-mail will be sent to the specified addresses with a link to accept the invitation. a link to accept the invitation. This link will only work for the e-mail address specified in the invitation. If the recipient of the e-mail does not already have an account with this e-mail address. e-mail address, he/she must register with it in the platform, after which he/she will be able to accept the invitation. platform, after which he/she will be able to accept the invitation. The validity of a link of this type expires after 24 hours.
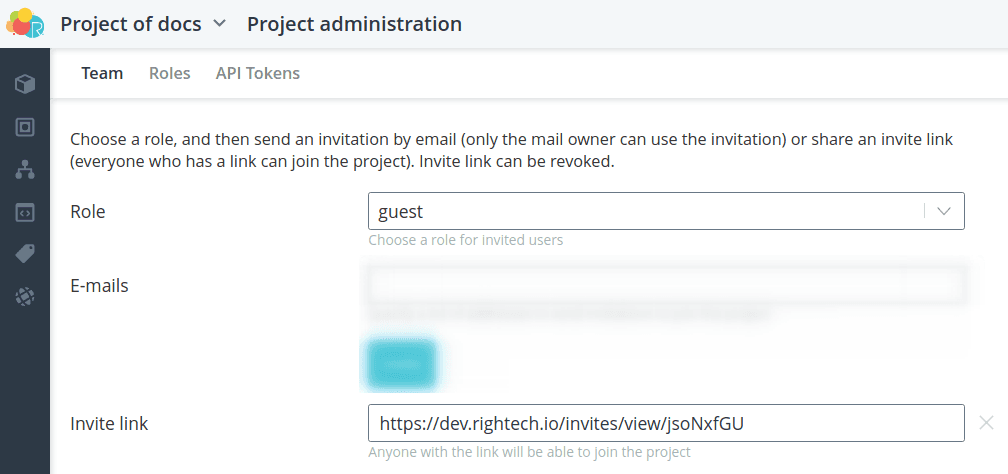
- Invite by link: In this case, a universal link is generated, which is used to which any user registered in the platform can use to join the project. join the project. Links of this type work as long as they are not are not revoked by the project owner and the project's user limit is not exhausted.
The table contains the list of project users, their roles and the status of sent invitations.
of the invitations sent. The project owner can exclude users from the
project and change their roles.
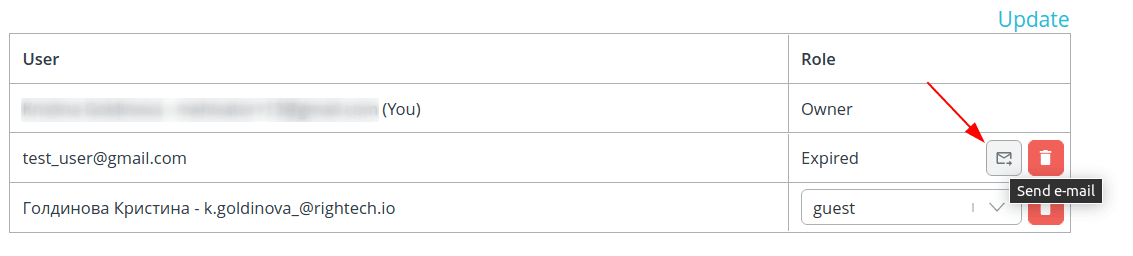
If the link has expired, you can resend the invitation.
Roles
In order to invite users, you need to select the role with which they will
to join the project. By default, the [rightech] signup role is available with the
maximum rights to manage entities, but you can create other roles with any set of available methods.
any set of available methods.
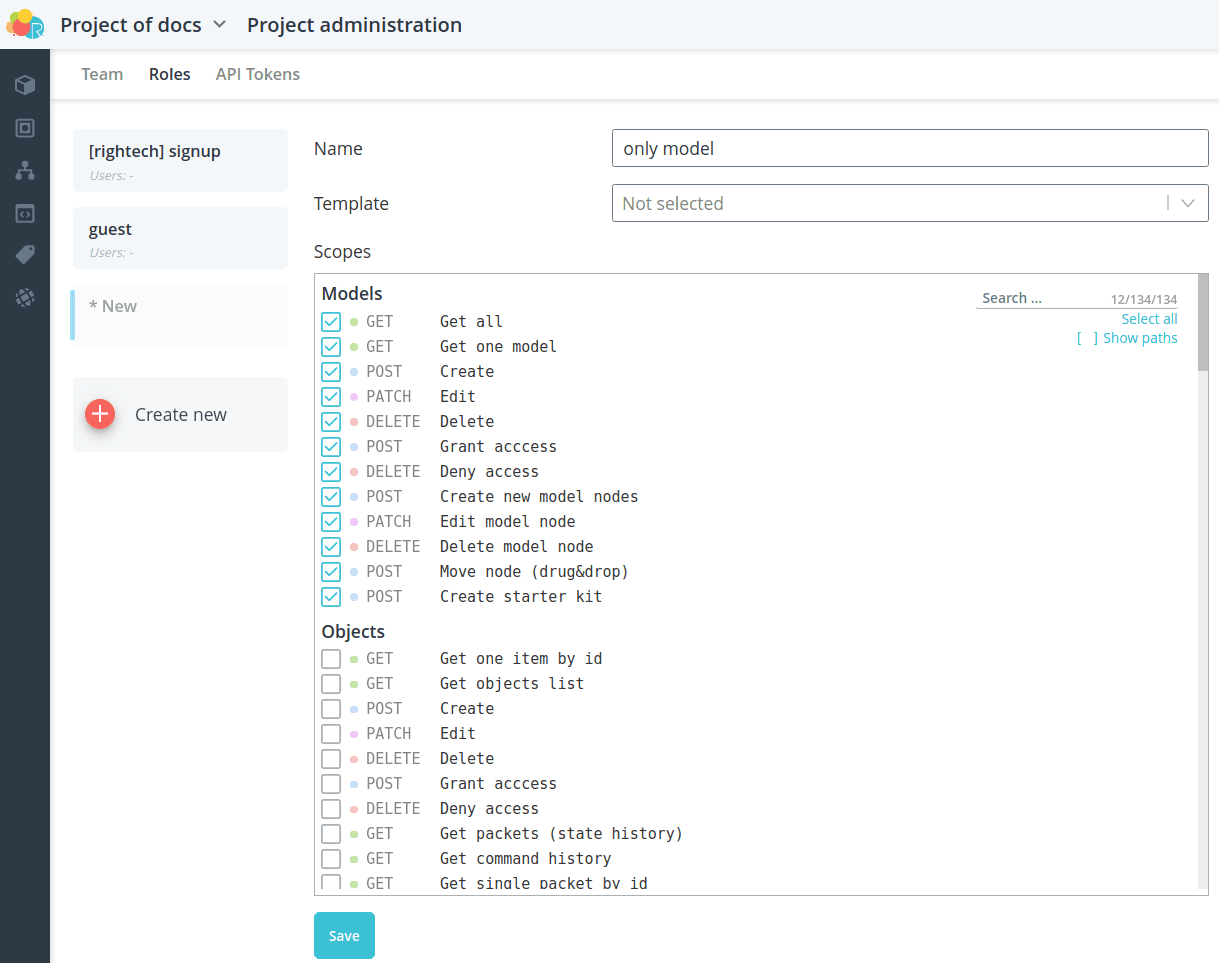
Go to Roles. Click the Create button to create a new role.
Fill in the name and, if necessary, select a template with a ready set of access rights.
access rights. Then select the methods available for the new role.
💡
Project management functions (editing the project, inviting new users, paying
subscriptions, etc.) are available only to the project owner.
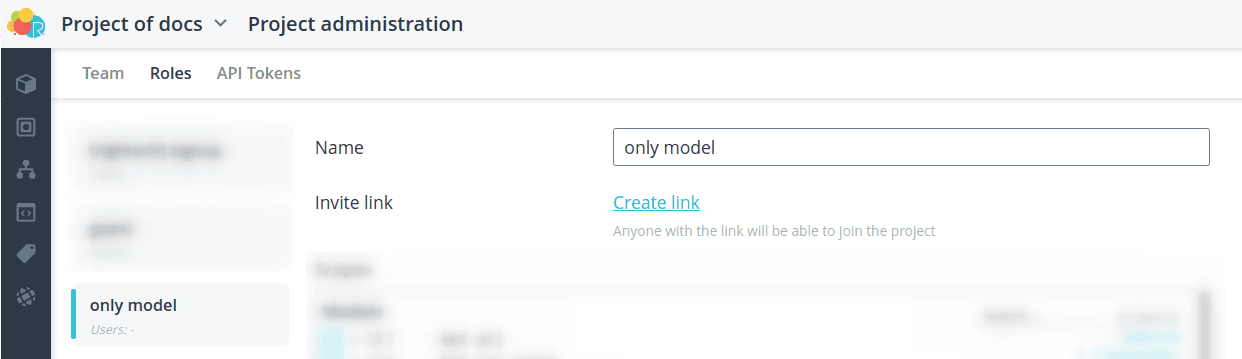
Click the Save button. Now you can use this role to
invite new users in the Command section or generate a
universal invitation link by clicking the Create Link button.
API tokens [#api-tokens].
Under API tokens you can issue a token for your project to
utilize the HTTP API of the platform.
Click the Create button. Fill in the name and, if necessary, change the expiration date
of the token. By default, the token is valid for one month. Select the methods
you plan to use when communicating via API.
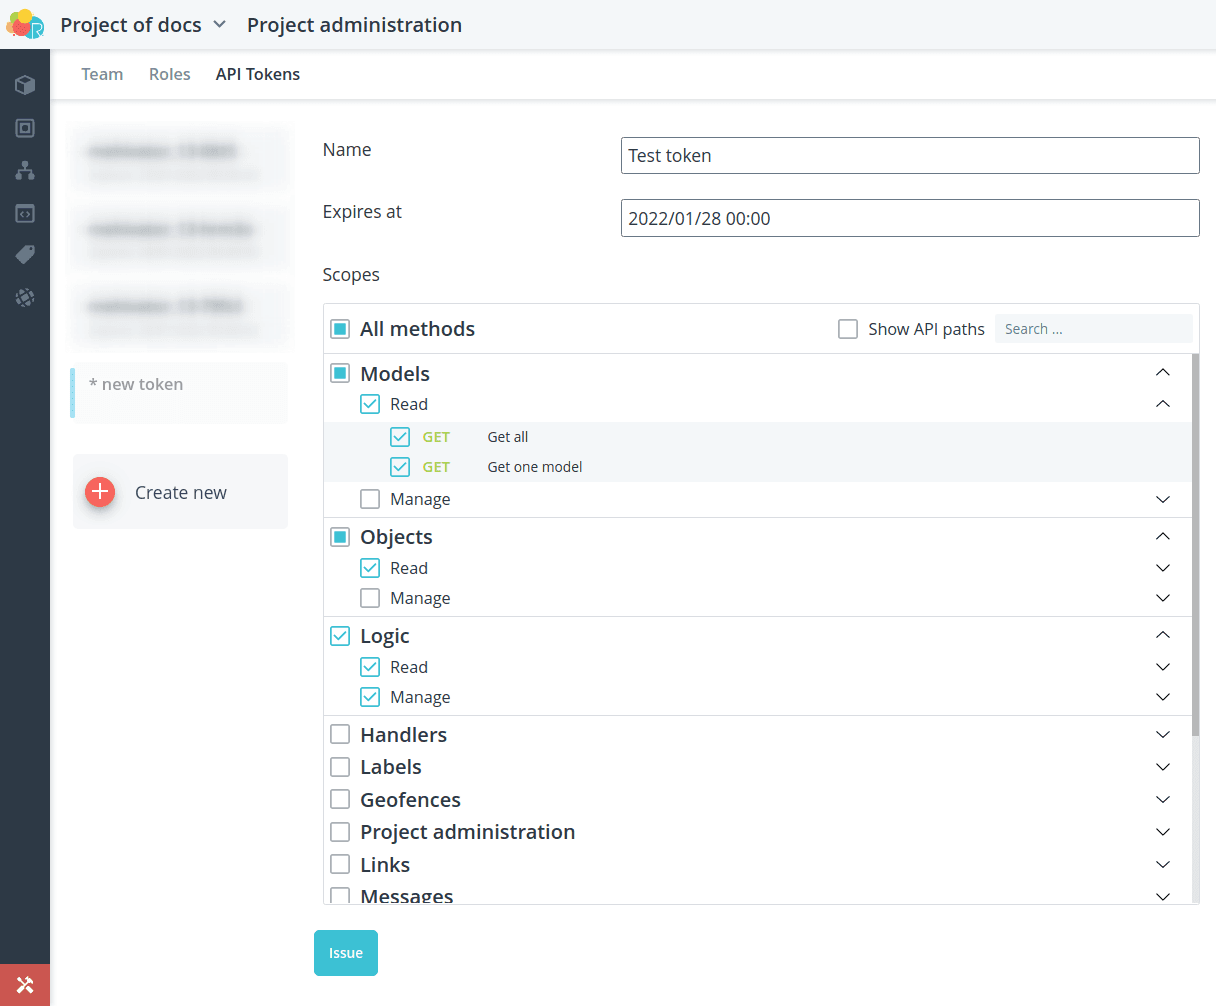
💡
For security reasons, when issuing a token, it is not recommended to include
All methods. By selecting only certain methods, you reduce the possible
damage, that can be done until the token is revoked in the event of a token
leak. leak.
Click the Release button. The generated token will be displayed. Save it to yourself,
as you will not be able to retrieve the token after leaving this page. You can also
You can immediately revoke the token if it was created in error.
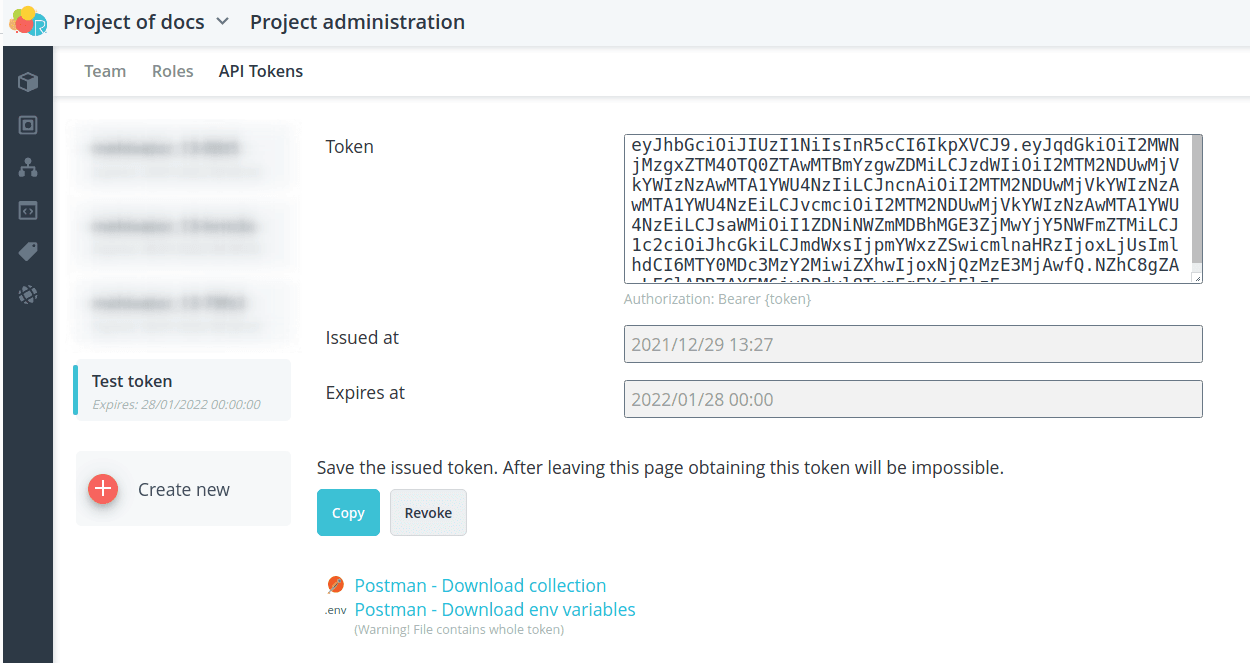
The token must be specified in each request in the Authorization header after the
the word Bearer in the format:
Authorization: Bearer <ACCESS_TOKEN>To test the API, you can use the HTTP client
Postman (opens in a new tab), which
allows you to send various requests. On the token page there is a ready
collection of requests and environment variables that can be imported into the
Postman interface. In this case, you do not need to specify the token in the requests yourself, it will already be present there.
It is not necessary to specify the token in the requests, it will already be present there.
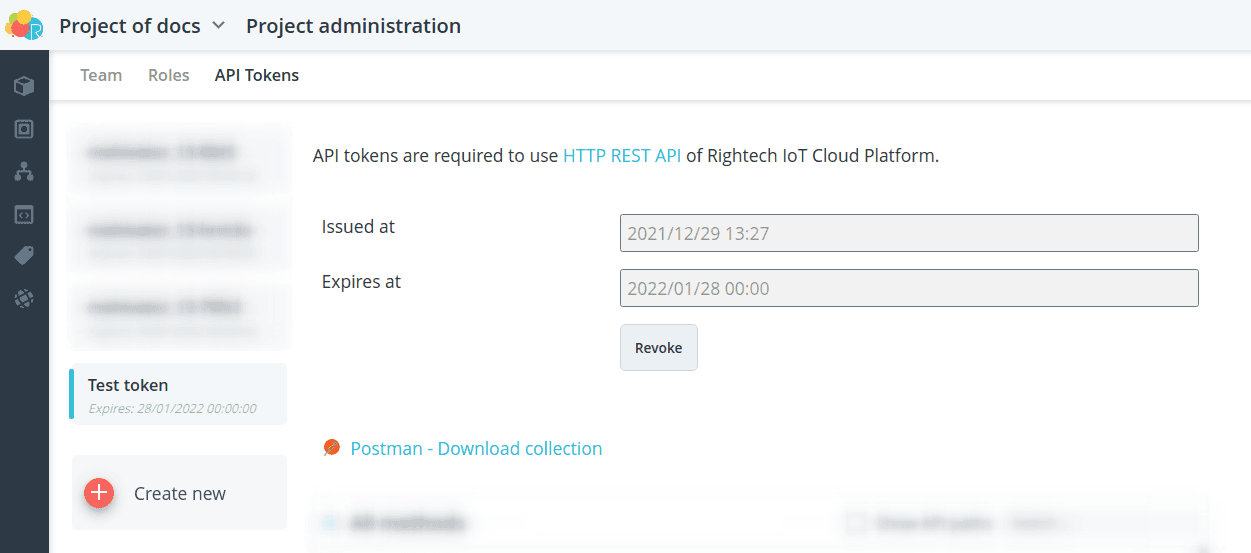
After refreshing the page, the possibility to save the token and download environment variables for Postman will be lost.
environment variables for Postman are no longer available.
SMTP
In the SMTP section, you can create an SMTP server to use it to
sending emails from automata.
💡
Most modern email services allow you to use your SMTP server in external
systems. Instructions on how to create and use SMTP can be found online:
google
(opens in a new tab),
yandex
(opens in a new tab).
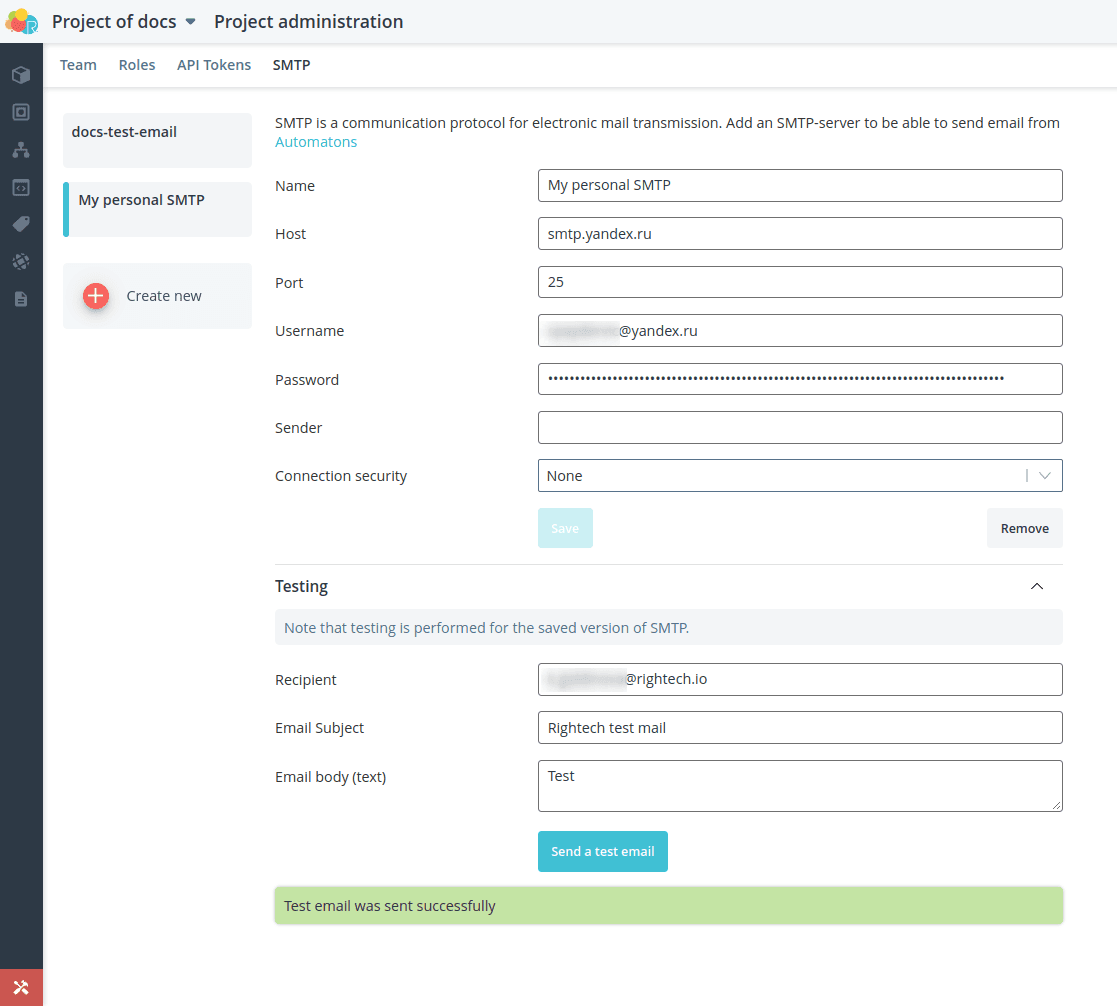
Click the Create button. Fill in all mandatory fields in the form. If desired
specify the sender's address and enable security settings.
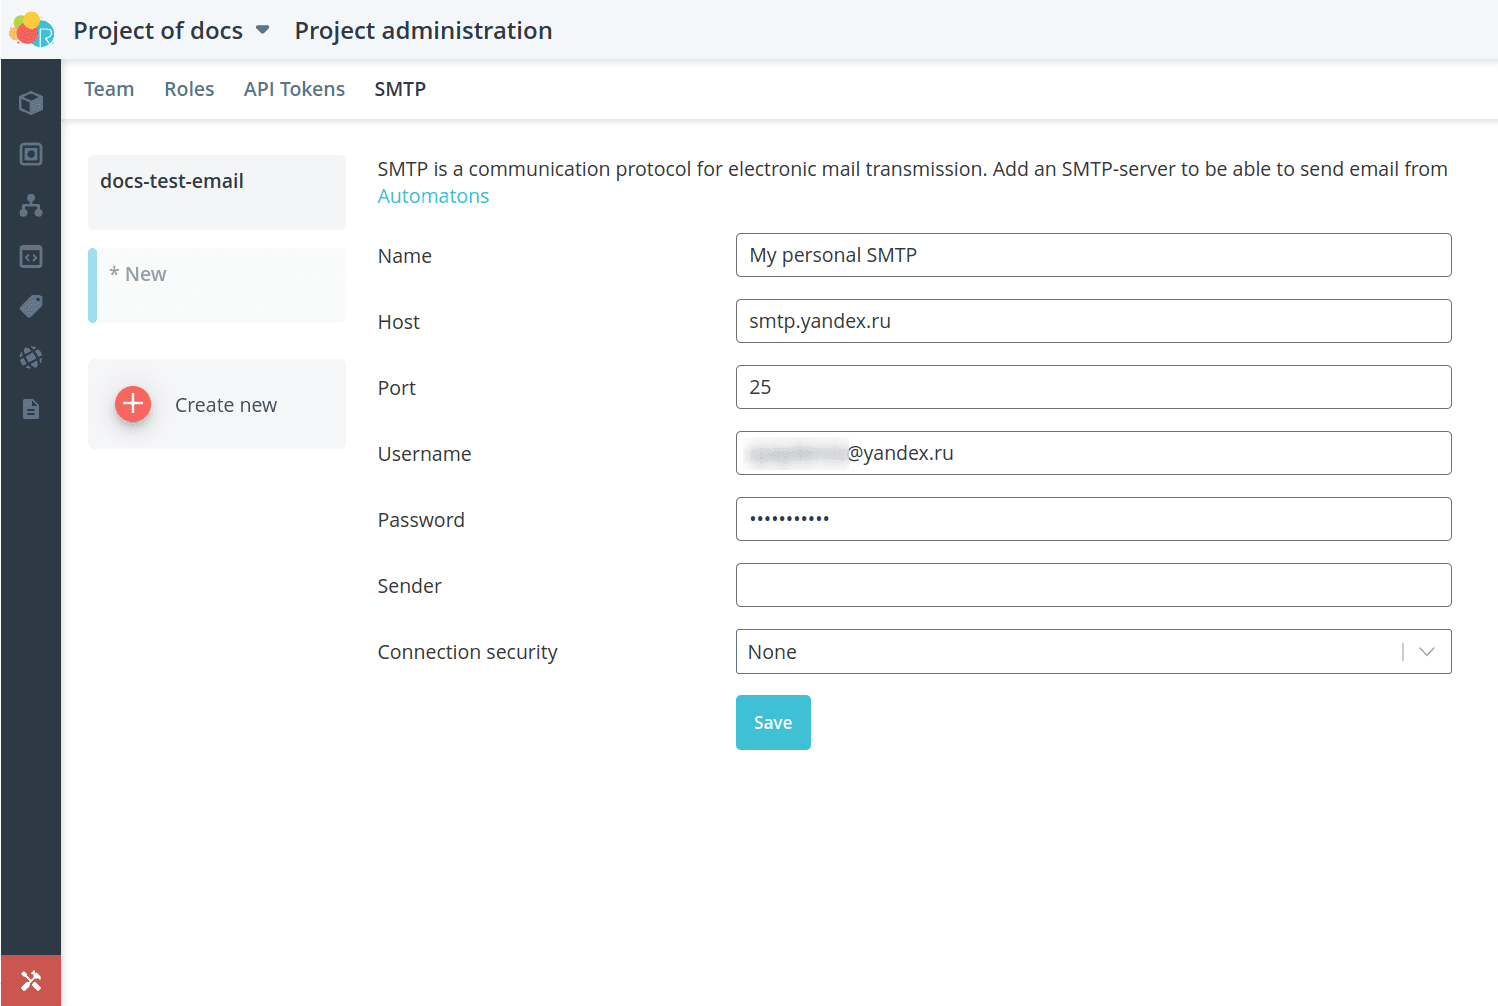
Click the Save button. The Testing window will then become active.
Enter the recipient, subject and body of the email and click Send Test Email.
If the SMTP server is configured correctly, you will see the message Test Email
has been successfully sent.
If there is an error in the SMTP server settings, you will see a description of the error.
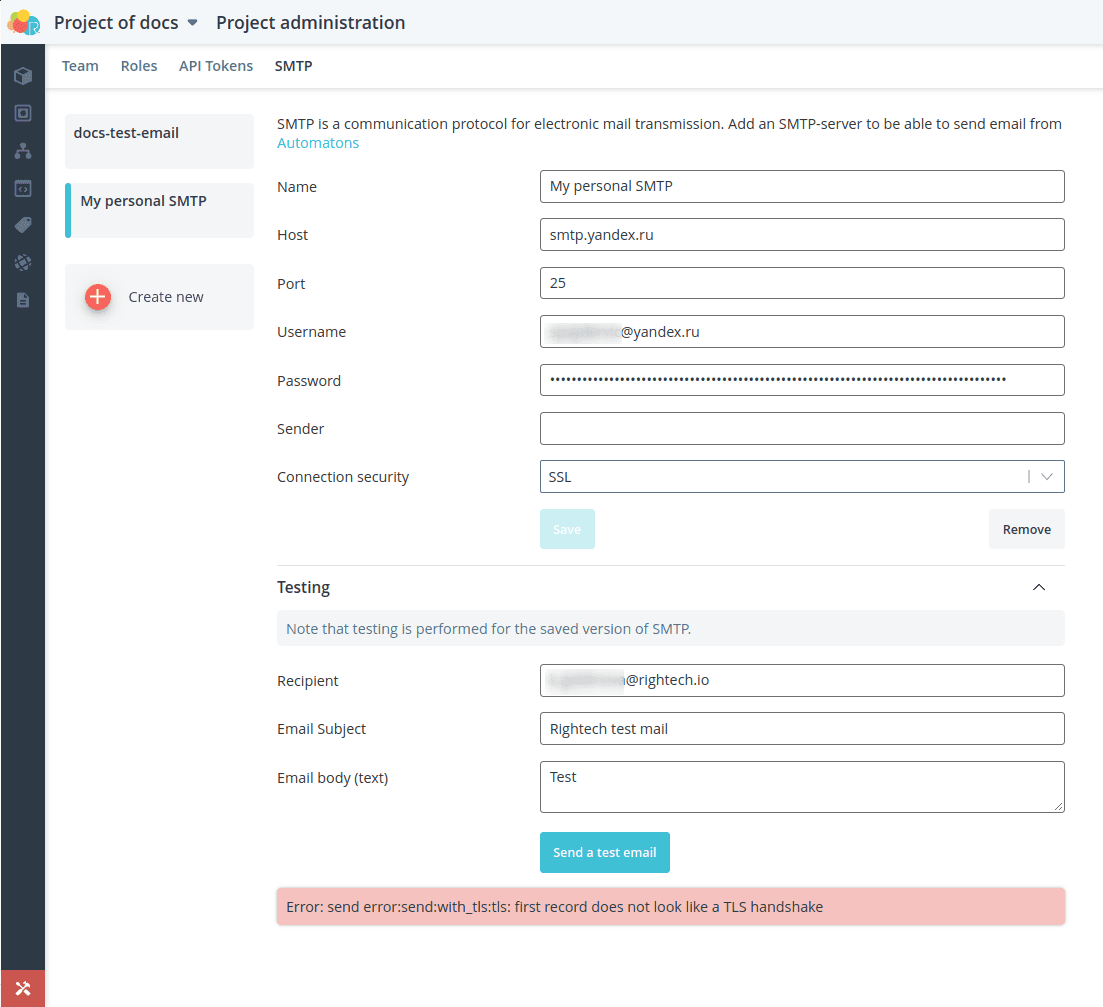
In this case, make the correction in the SMTP settings form and click
Save and then retest again.